

If you’re looking to use Orderable locations with a WooCommerce multi vendor plugin, this guide will show you how.
Orderable locations integrate seamlessly with two of the most popular WooCommerce multi-vendor plugins (Dokan and WCFM Marketplace). Orderable allows vendors to change the settings for each individual location.

Vendors can modify settings like Service days, Time slots, Lead time, Pre-order time, holidays, etc. We’ve also made it possible for vendors to create new locations.
We understand that each store has unique requirements, so you, as the site admin, can decide whether or not the vendors can override or create a location. You can also give control of specific locations to individual vendors. In this guide, we will see how these settings work.
What you’ll need:
- Either the Dokan or WCFM Marketplace multi vendor plugin installed and activated.
How to use a WooCommerce multi vendor plugin with Orderable locations
No matter which multi vendor plugin you’re using, the settings you customize can be found by taking the following steps:
- Login to the WordPress dashboard.
- Click on the Orderable menu item on the left sidebar.
- Click the Integrations tab.
- Scroll to find the Dokan or WCFM section. This section will only appear if you have the Dokan or WCFM plugin activated.
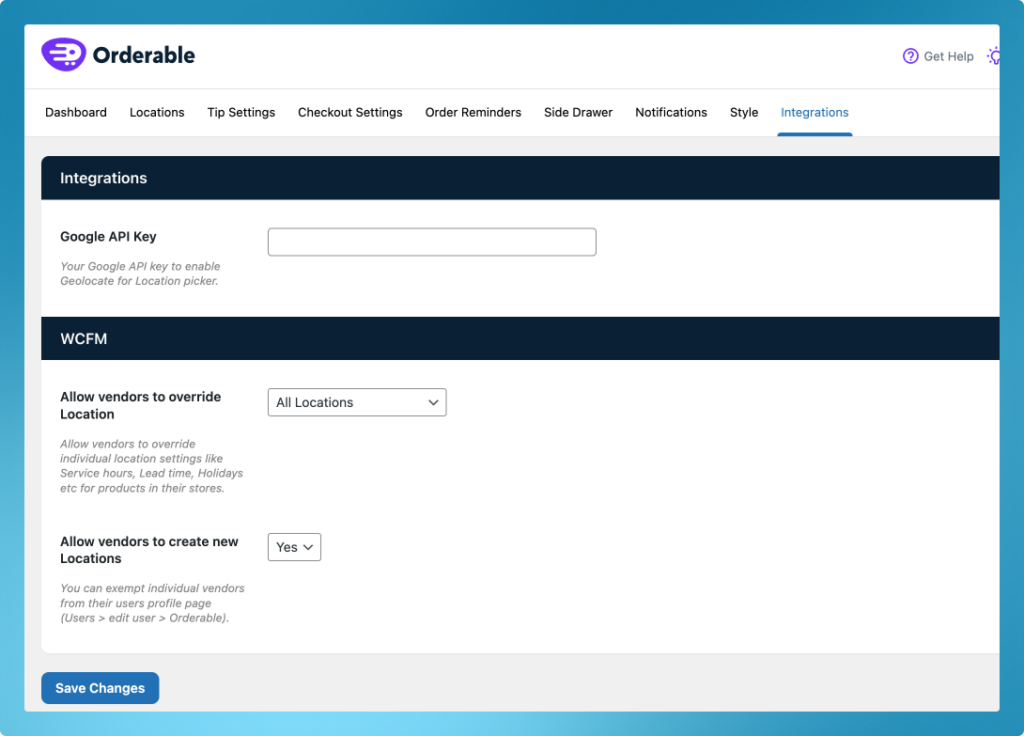
- Allow vendors to override Location settings. This setting has these three options:
- Assigned Locations Only (default): When this option is selected, vendors can only override the locations assigned to them. Refer to this section to learn how to assign a location to a vendor.
- All Locations: When this option is selected, any vendor can override any location on the website.
- Don’t allow: When this option is selected, vendors cannot override any location.
- Allow vendors to create new Locations. This setting allows you to enable or disable vendor creation of new locations.
- Yes
- No
Note: You can remove this option for individual vendors via their user profile by going to Users > edit user > Orderable.
How to assign a location to a vendor
If you want to assign locations to individual members, you can do so via their user profile.
To do this, take the following steps:
- From your WordPress dashboard sidebar, click Users.
- Find the user you want to assign a location to and click to edit.
- Scroll down to the Orderable section.
- In the Assign Locations field, select the locations you want to assign to the vendor.
- Once happy, click on the Update User button.

What does this look like for your vendors?
When a vendor logs into their dashboard, they’ll see a new Locations tab. Within this tab, they can edit their location and location information if you allow them to.

This includes everything from:
- Pickup/delivery time and date slots.
- Lead time.
- Holiday dates.
- Maximum orders.
- Opening hours.
- ASAP delivery.
- and more.
Get Your Restaurant Online With Orderable
The WooCommerce plugin designed to help restaurants take orders online – with no added fees!
View Pricing
