

Setting your WooCommerce/WordPress website time zone is fairly straightforward. To set this up, take the following steps:
- From your WordPress dashboard, go to Orderable > Settings and click the Store Settings tab at the top.
- Scroll down the page until you reach the Timezone section. Here you’ll be able to see what your current timezone is set to.
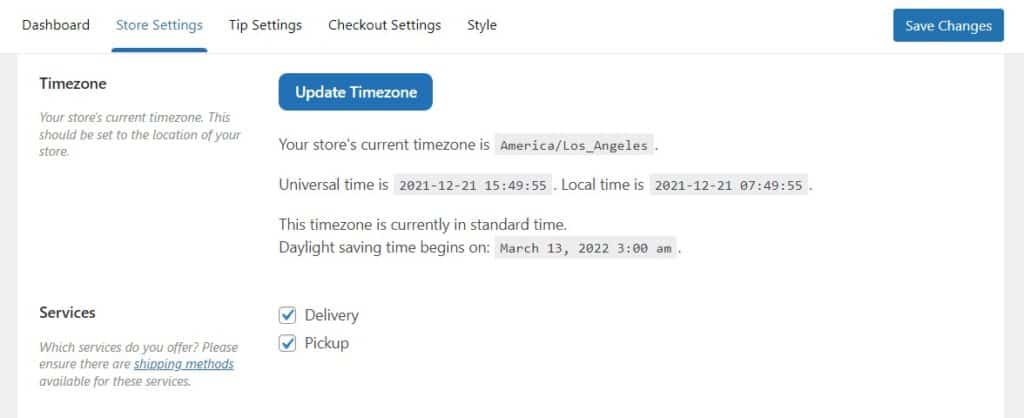
- If this is incorrect, click the blue Update Timezone button and you’ll be taken to the General settings page in WordPress.
- In the Timezone section, click the dropdown arrow to select the correct timezone for your store.
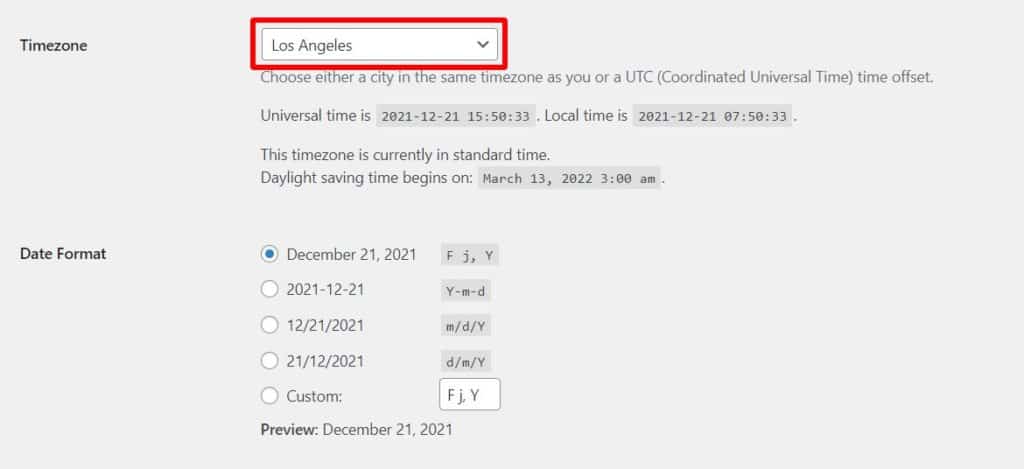
- Once you’re happy, click the blue Save Changes button.
Next Article

Get Your Restaurant Online With Orderable
The WooCommerce plugin designed to help restaurants take orders online – with no added fees!
View Pricing
