

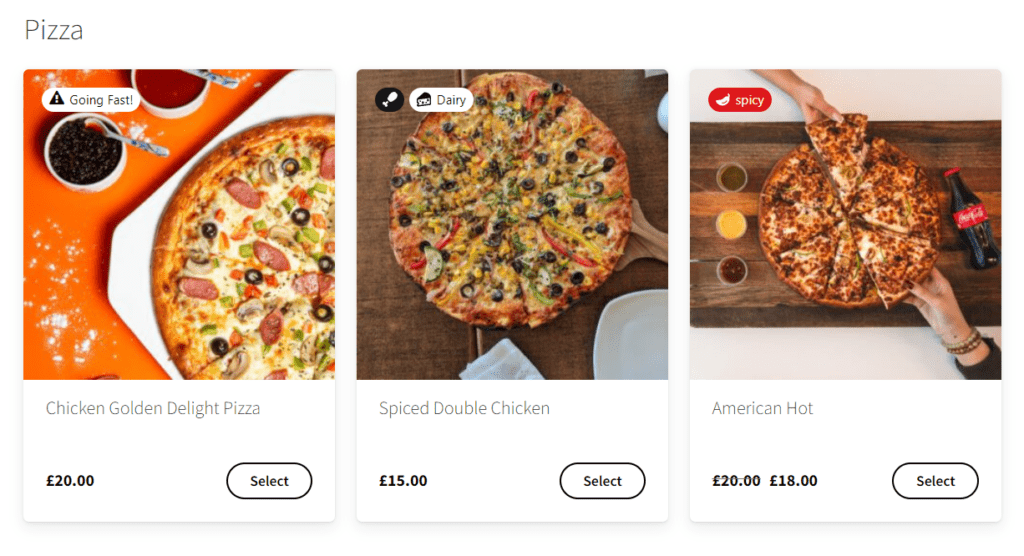
Orderable Product Labels allow you to add customizable labels to your products. You can use these to indicate your product’s dietary properties, if your product is new, popular, or running out, or anything else you’d like to draw your customer’s attention to.
Step 1: Create your product labels
The first thing we’ll need to do is create the product labels. With Orderable, you can create an unlimited number, so take your time with this step.
To create your product labels, take the following steps:
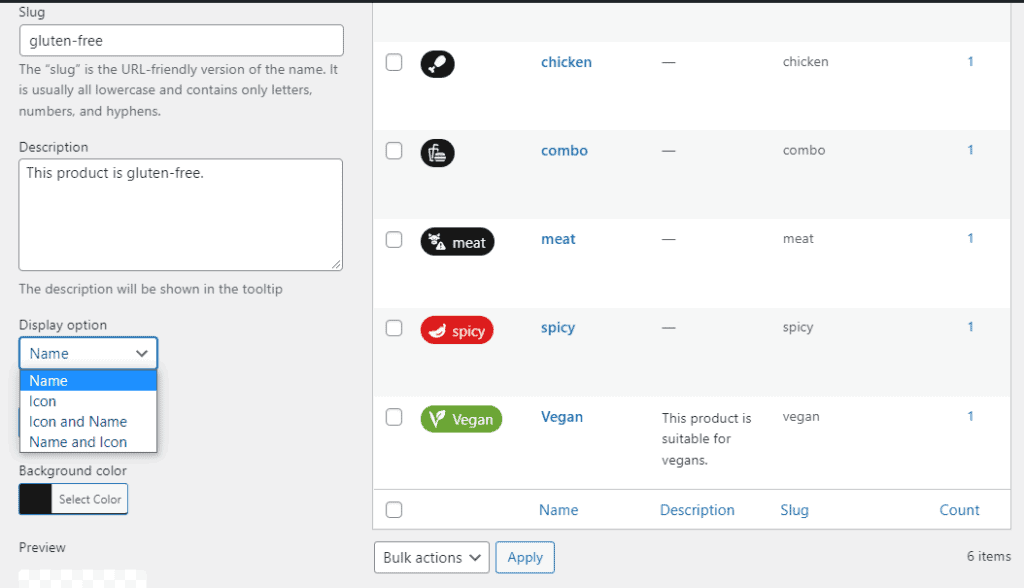
- From your WordPress dashboard, go to Orderable > Product Labels.
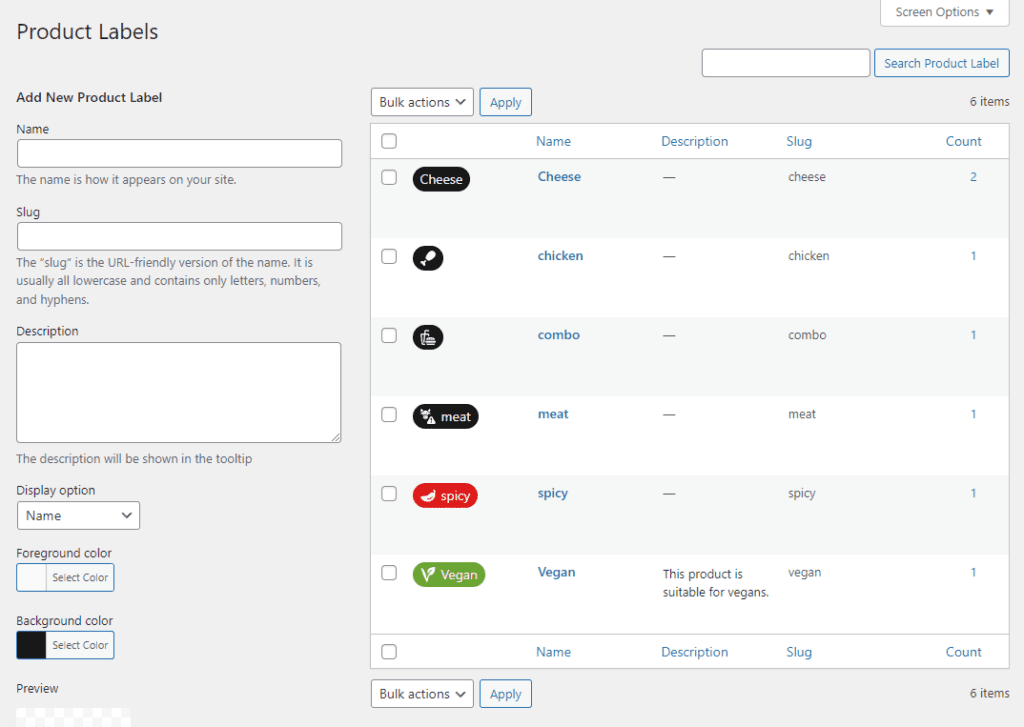
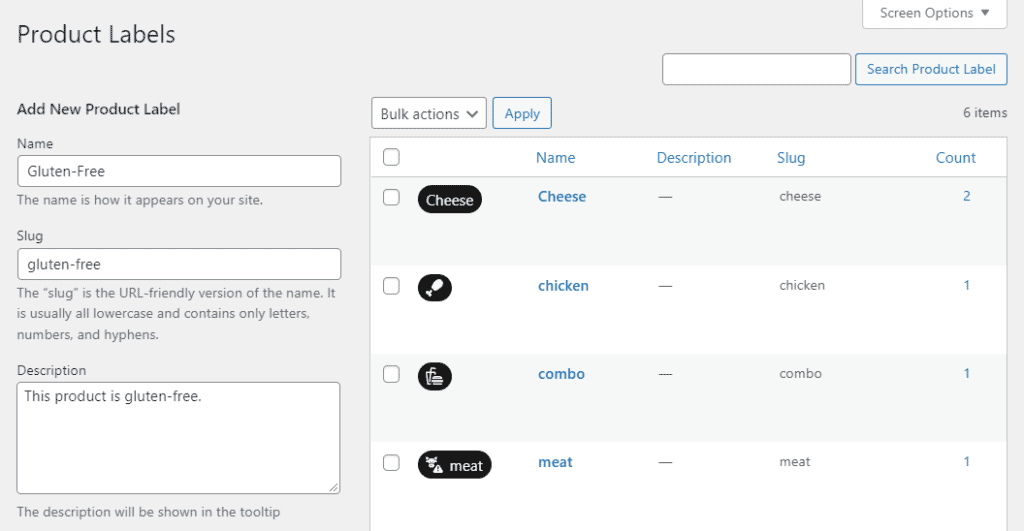
- Give your product label a Name and Slug. The slug is simply a lowercase version of the name. If you don’t know what to put here, leave it blank. When you add the product label, it will automatically create a Slug for you.
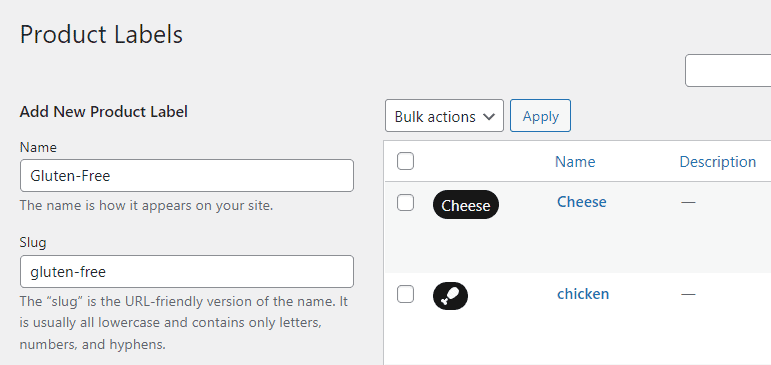
- Next, give your product label a Description. When a customer hovers over the label, this description will appear, giving them some more information.
- Next, decide what you want your product labels to look like. In the Display option dropdown, there are a few options. Decide if you want your label to be name only, icon only, or if you want words alongside your icon, in which order you’d like them to display.
- Once decided, you can pick the colors for your label. Use the color picker to select your Foreground color and Background color. Or, if you have a specific color you want to use, input a hex code in the field that appears once you click Select Color.
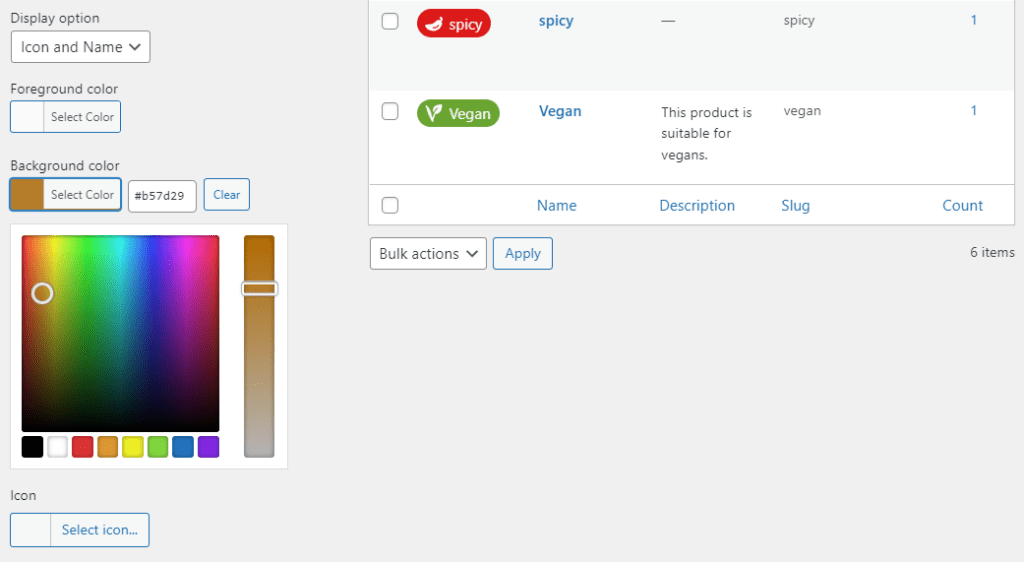
- If you want to use an icon in your product label, click the Select icon… button underneath Icon. Here you have some options. A selection of Icons that come with Orderable, icons from FontAwesome, Dashicons, or WooCommerce icons.
- Once you’re happy, click Add New Product Label and repeat until you’ve created all the product labels you need.
Note: As you build your icon, you’ll see the changes in real time in the Preview section.

Step 2: Add your product labels to products
Now we’ve created our product labels. We’ll next need to add them to our products.
To do this, take the following steps:
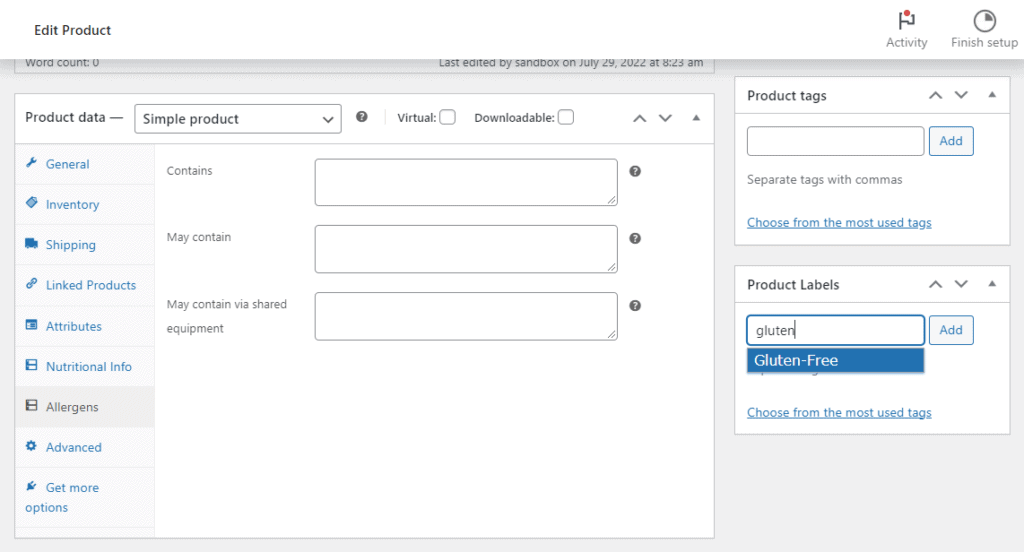
- From your WordPress dashboard, go to Products > All Products and click to edit the product you want to add product labels to. Either that or click Add New to create a new product.
- Once done, scroll down the page until you reach the Product Labels section on the right-hand sidebar.
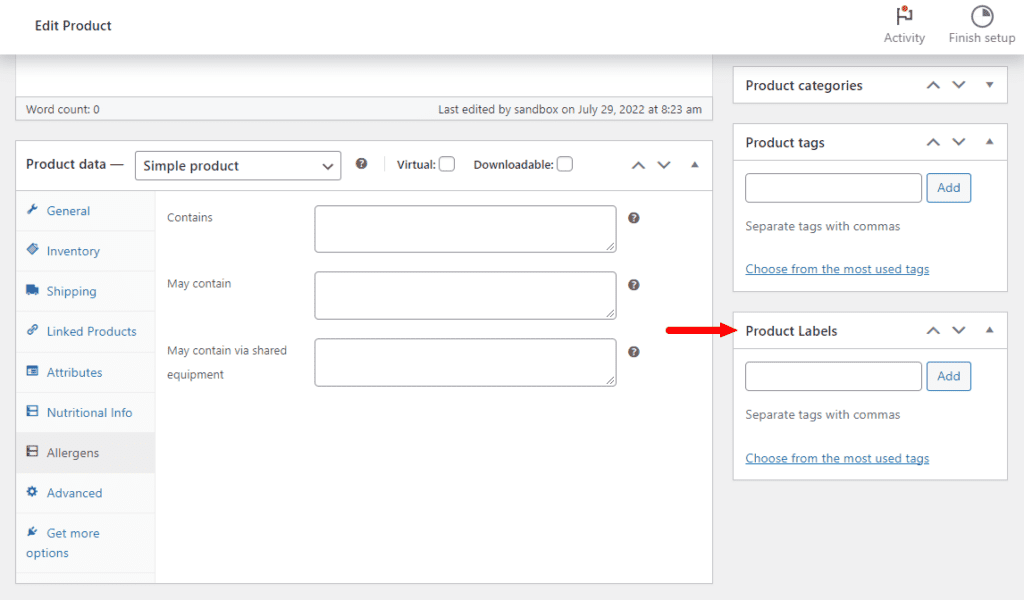
- This is where you’ll add your product labels – just like product tags. Start typing your product labels into the Product Labels field and click Add when ready.
- Once you’ve assigned all your tags, scroll to the top of the page and click the blue Update or Publish button.
Step 3: Display product labels
We’ve created our product labels and added them to products. Now let’s get them displayed in your store.
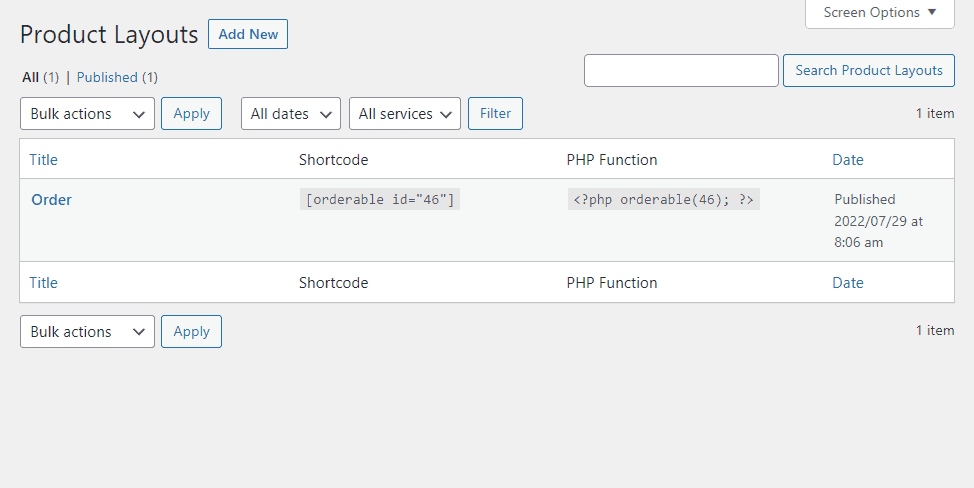
- From your WordPress dashboard, go to Orderable > Product Layouts and click to edit your product layout of choice.
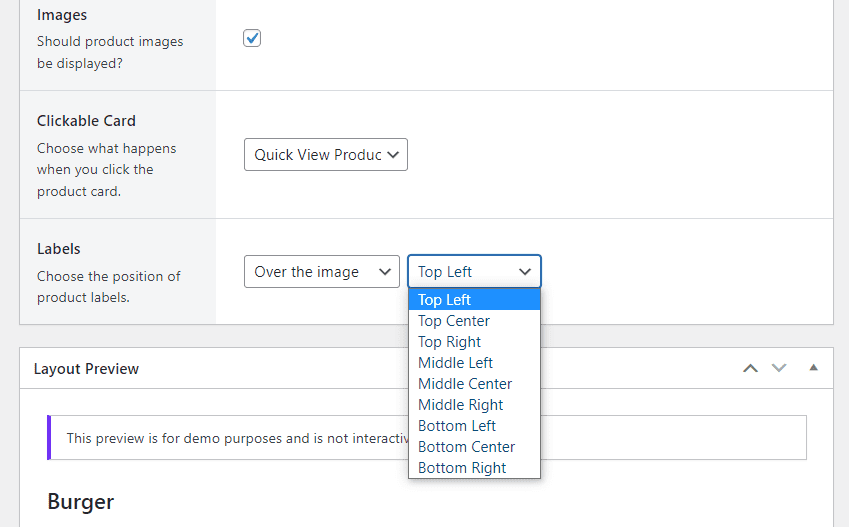
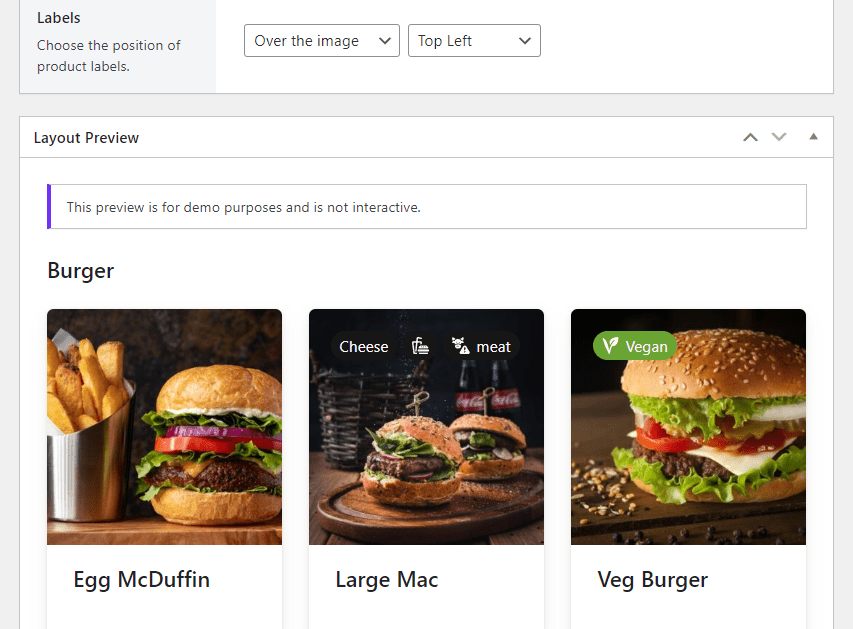
- Scroll down to the Labels section, and you’ll see two dropdowns. The first lets you pick where you want the label to show (over the image, before the title, before the description, and before the price).

- Once you’ve selected which you prefer, the second dropdown will change depending on what you’ve selected. This will then allow you to determine where you’d like it to sit in that position.
- Once happy, make sure to Update your product layout and view your product labels on the front end of your store.
Note: You’ll be able to see what the labels look like before you publish if you scroll down to the Layout Preview on this screen.
Lastly, we can decide how we want product labels to appear in the side drawer. To do this, take the following steps:
- From your WordPress dashboard, go to Orderable > Settings and click the Side Drawer tab/link at the top of the page.
- Scroll down until you get to the Product Labels section. Click the dropdown to decide where you want your labels to display (before the product title, before the product options, or after the product options).

- Once done, click the blue Save Changes button at the bottom of this page.
Get Your Restaurant Online With Orderable
The WooCommerce plugin designed to help restaurants take orders online – with no added fees!
View Pricing
