

This guide will show you how to add your own custom order status to WooCommerce using Orderable. We’ll also show you how to edit the default order statuses that come with WooCommerce.

Create a new custom order status
To create a new custom order status for your WooCommerce store, take the following steps:
- From your WordPress dashboard, go to Orderable > Order Statuses and click the Add New button.
- You’ll then be taken to the Edit Custom Order Status page. Give your new order status a title/name.
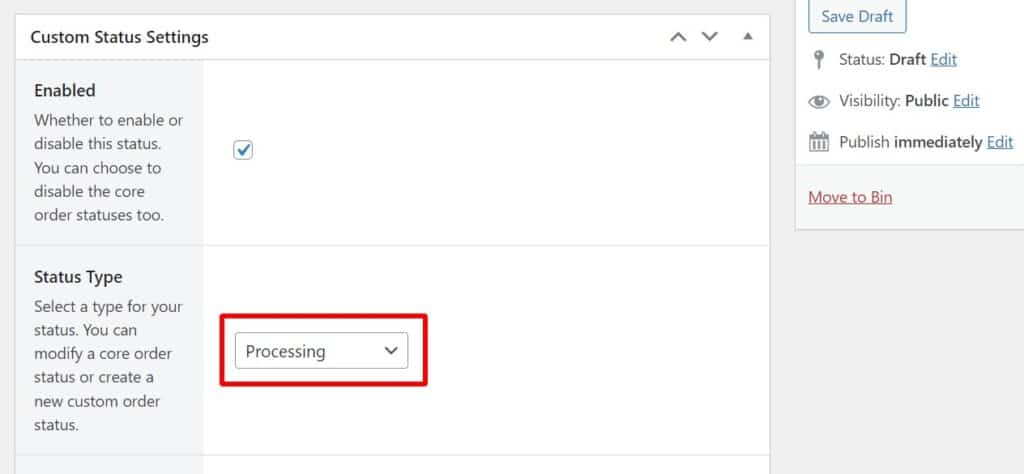
- Next, click the checkbox next to Enabled, to have this order status appear on the Orders and Live Order View Page.
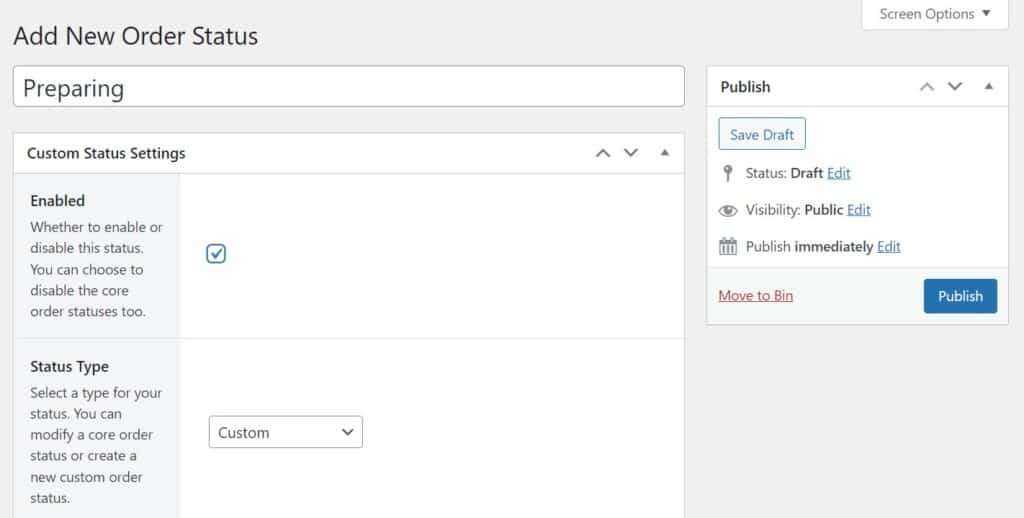
- Underneath this, you’ll be able to select the Status Type.
- You can pick between a default order status, or create a new one (Custom). If you pick a default order status, it will override it (we’ll explain this further below).
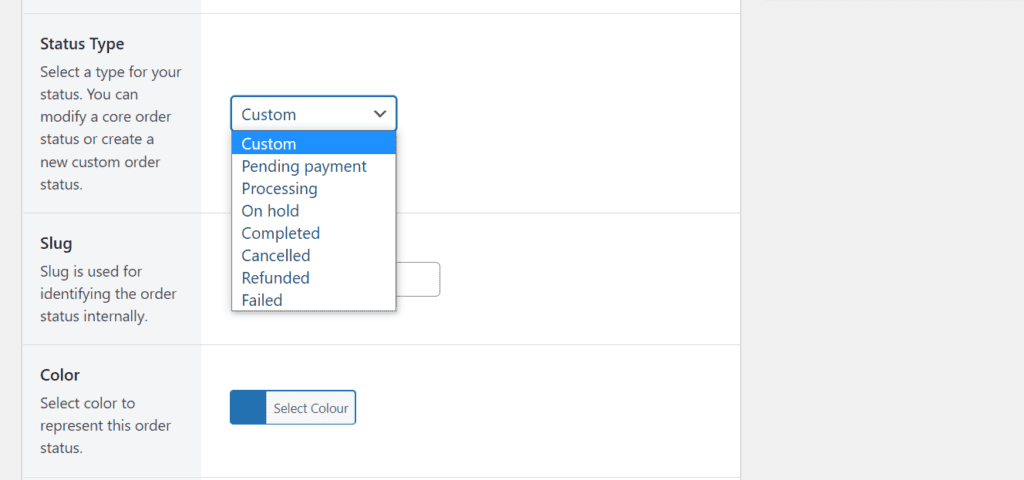
- Next, give your order status a Slug. This allows us to identify the order status in the plugin’s code. You just need to make sure the slug is different from your other order statuses.
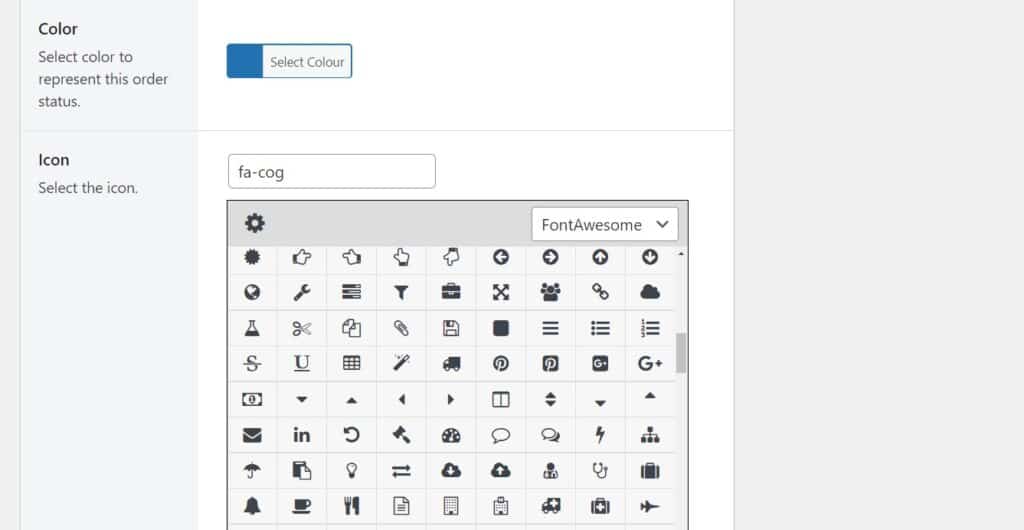
- After this, you can pick the order status color using the color picker. You can pick any color you like and it will show on the order status on the Orders and Live Order View page.
- Icon allows you to select the icon you want to show on the Orders and Live Order View page.
- Next steps allows you to decide which order statuses will be displayed in the Actions column of the Orders and Live Order View page. This will make processing orders easier, you can select as many as you like.
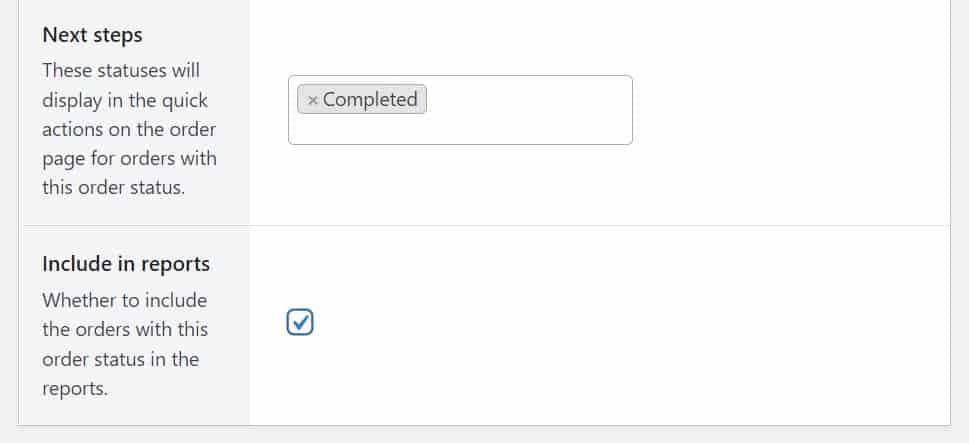
- Lastly, select the checkbox next to Include in reports, to add this order status to your store’s reports.
Next, we’ll need to customize the notifications that get sent when this custom order status has been selected.
Add your order status notifications
To add notifications to this order status, take the following steps:
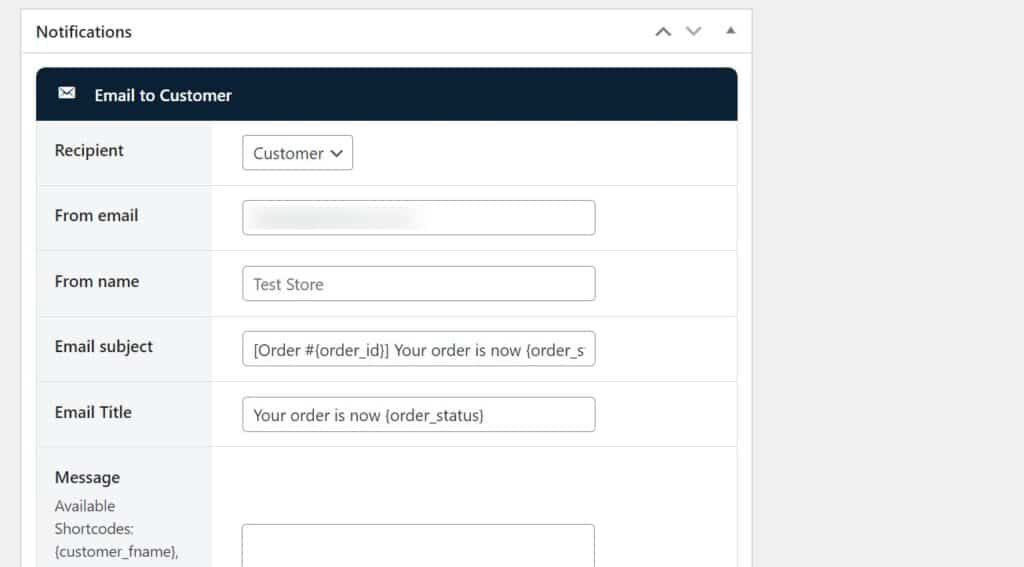
- Scroll down to the Notifications section of this page and click the blue Add Notification button.
- This will then open an email notification editor. Select who you would like the email sent to (either Customer, Admin, or Custom).
- If you select Custom for the Recipient, you’ll be able to enter a custom email address.
- Next, you’ll be able to customize everything from the From email, to the From name, Email subject, Email title, and more.
- Then you’ll be able to edit the contents of the email notification in the Message section. You’ll be able to include the customer name, order status, billing information, and more.
- The next two checkboxes enable you to include the order table and include customer information should you want to.
- Once you’re happy with all your changes, scroll to the top of the page and click the blue Publish button.
You can add as many of these notifications as you like. So if you need to notify customers and a delivery driver, you can customize different messages for both.
Edit a default order status
If you’re looking to edit one of the default order statuses that come with WooCommerce, take the following steps:
- From your WordPress dashboard, go to Orderable > Order Statuses and click the Add New button.
- You’ll then be taken to the Edit Custom Order Status page. Give your new order status a title/name.
- You can either re-name the default status here or write in the default name. E.g. You could rename Processing to Preparing, or write Processing to keep the name the same.
- Next, click the checkbox next to Enabled, to have this order status appear on the Orders and Live Order View Page. If you want to disable a default order status, leave this unchecked.
- Underneath this, you’ll be able to select the Status Type.
- Pick the default order status you’d like to either disable or edit from this dropdown.
- Continue to edit the order status if you want to and click Publish once done.
Get Your Restaurant Online With Orderable
The WooCommerce plugin designed to help restaurants take orders online – with no added fees!
View Pricing
