Join our community to connect with fellow users and share tips.
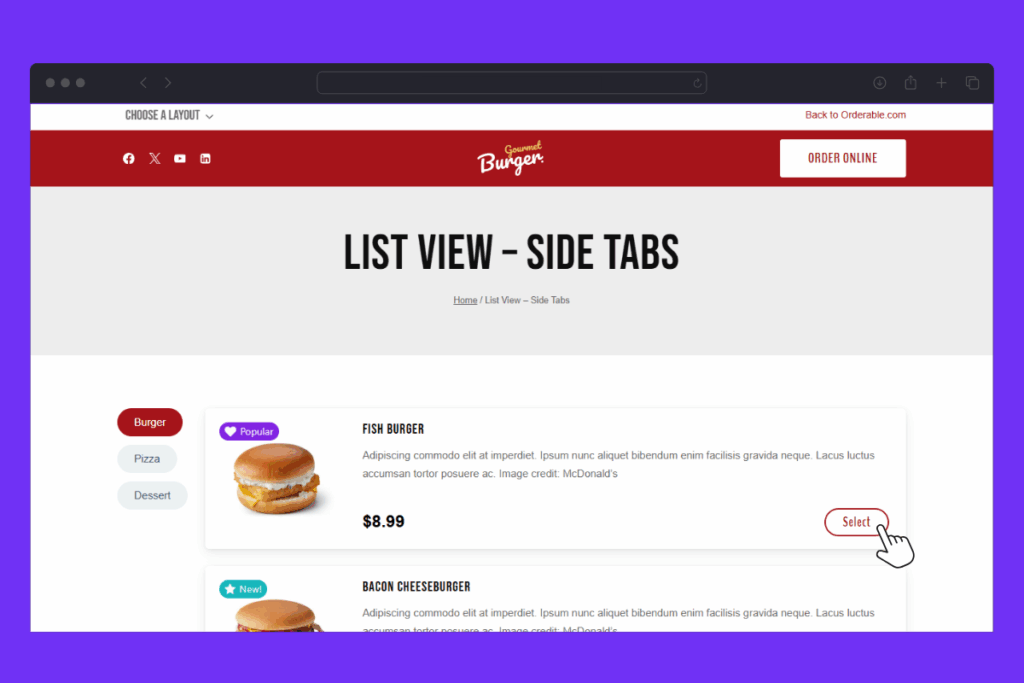
This guide will show you how to create product layouts using Orderable. These product layouts will display all of your products in a menu-style layout so customers can pick and choose what they want to add to their order.
Note: For the purposes of this guide, we’re presuming you’ve already created your products.
How to create a product layout
To create a product layout, take the following steps:
From your WordPress dashboard, go to Orderable > Layout Builder and click the Add New button at the top of the page.
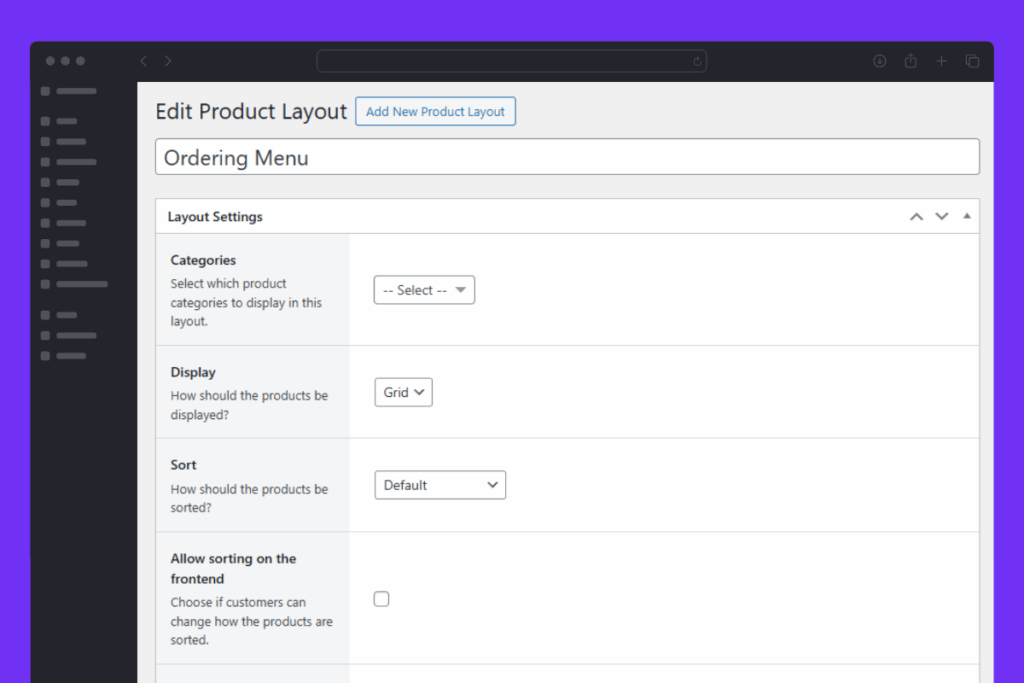
Give your layout a name and in the Layout Settings section of the page, you’ll have a few options:
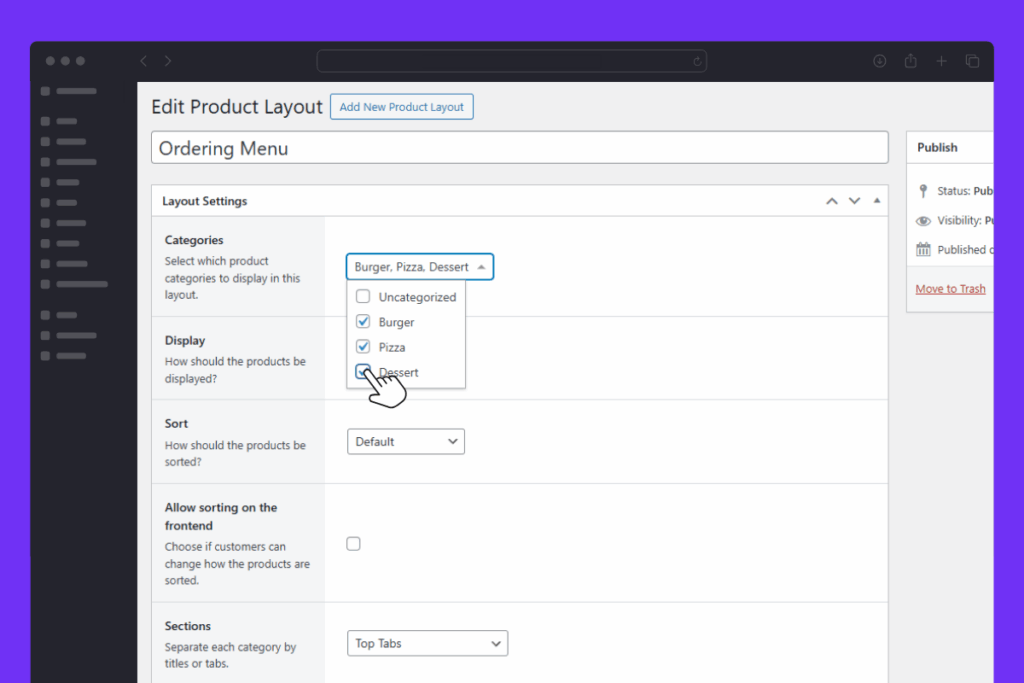
Categories – This dropdown menu will allow you to select which categories of products you’d like to include in the layout.
Display – Next you’ll be able to select the type of layout you want in the Display dropdown. You can pick either a Grid or a List. As you select them, the Layout Preview will update below.
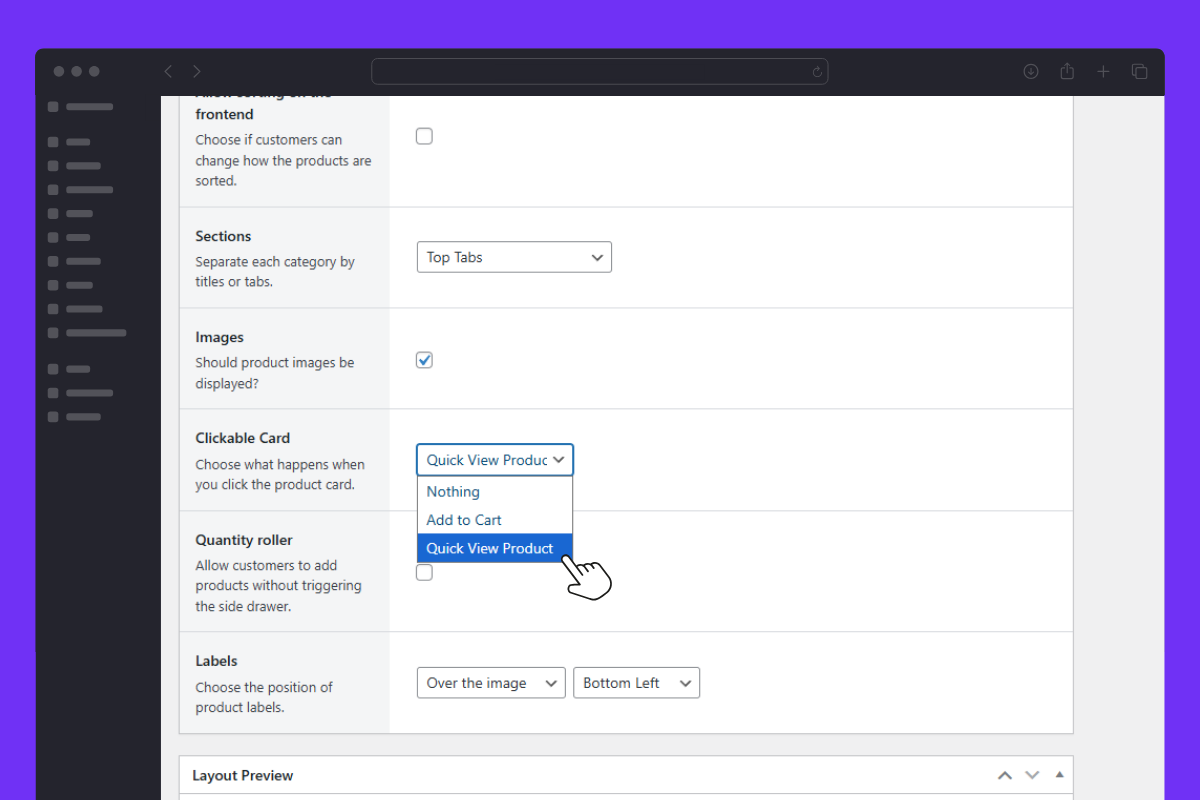
Sections – In this dropdown, you’ll be able to decide how you want each of your categories to be displayed. Each of these options will help customers navigate your product layout a little better.
Images – By clicking the checkbox next to Images, you’ll change the layout to display your product images.
Clickable Card – When checked, this allows customers to click on the whole product ‘card’, rather than just the Select button.
Once you’re happy with your layout, scroll to the top of the page and click the blue Publish button in the Publish section on the right.
Now your layout has been created, we’ll next need to add it to a page in WordPress. For the purposes of this guide, we’ll create a page called Menu and add our product layout to that page.
How to add a product layout to a page
To add a product layout to a page, take the following steps:
From your WordPress dashboard, hover over Pages and click Add New.
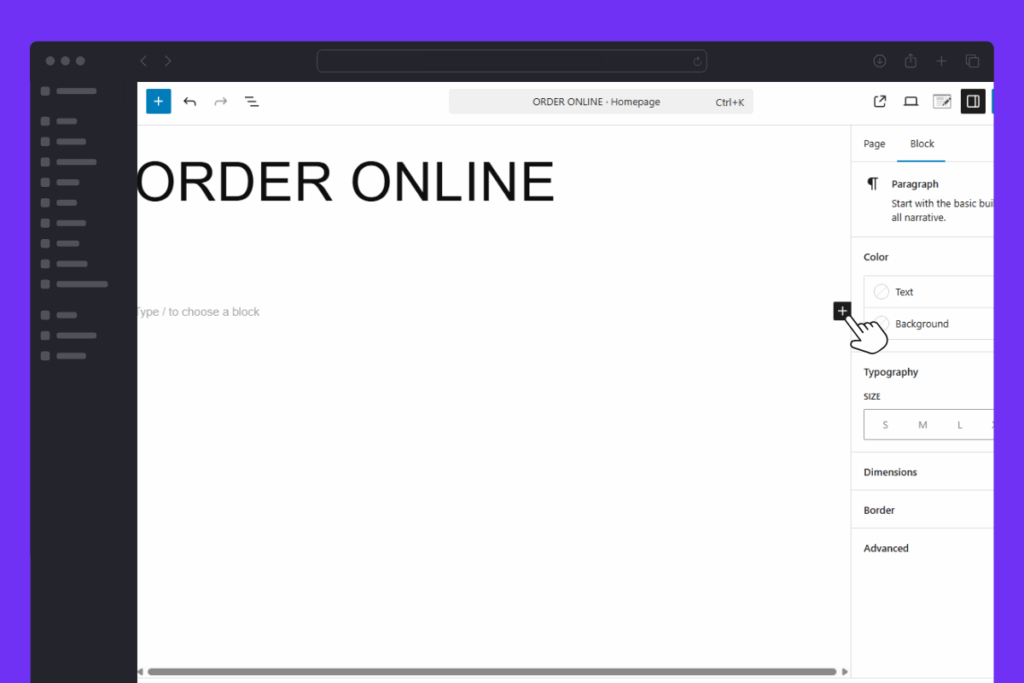
We’ll name this page Menu. Then click the black + sign to add a block.
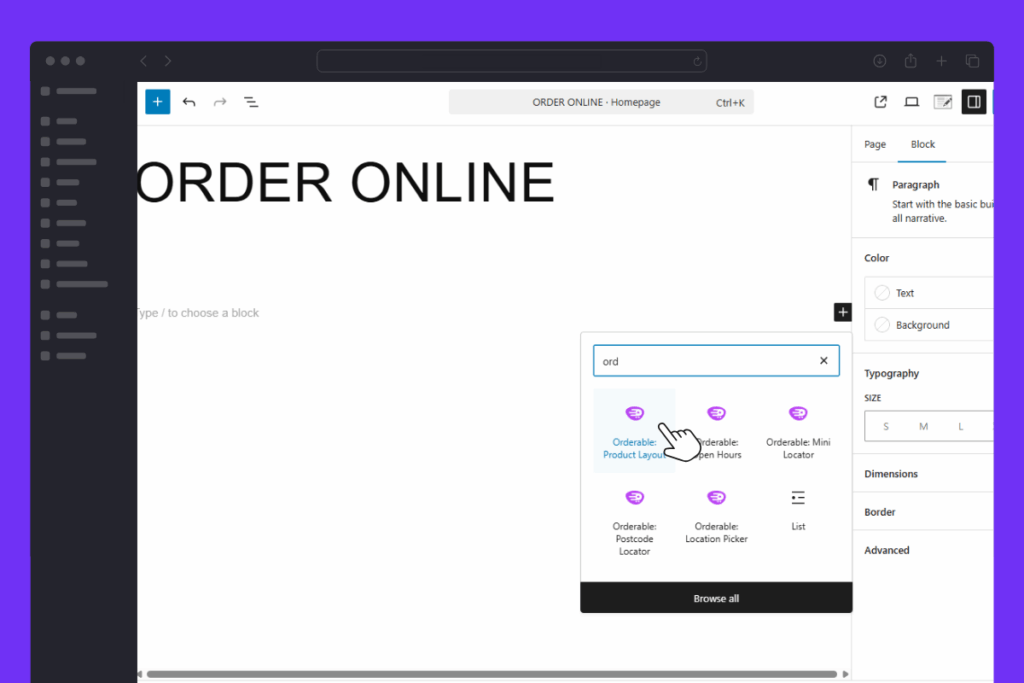
Search ‘Orderable’ in the search area and click the Orderable: Product Layout block.
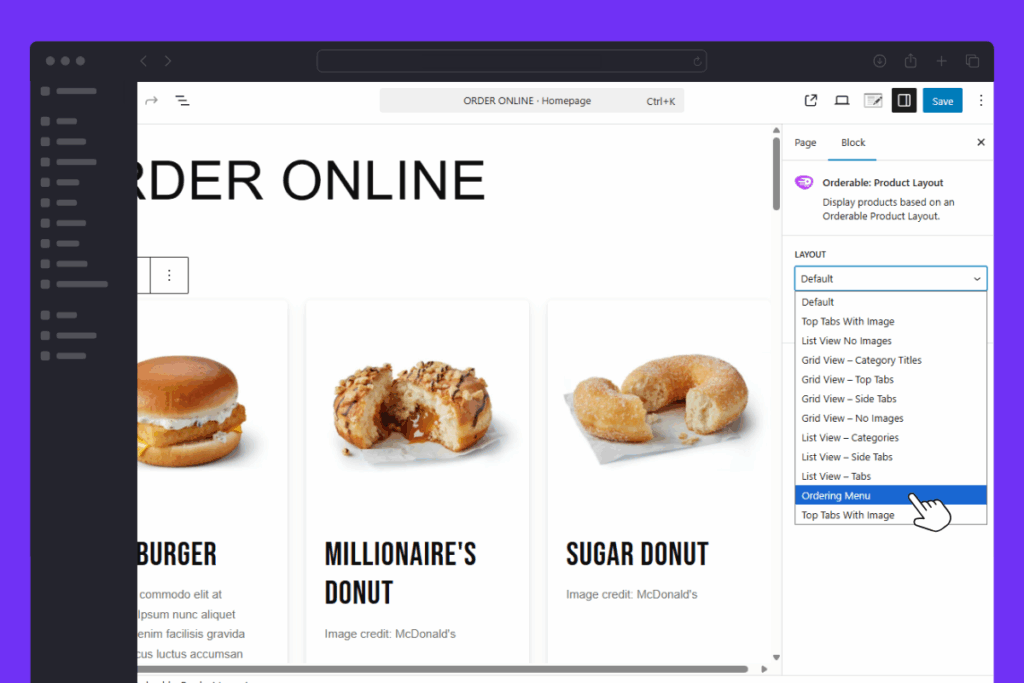
A generic product layout will be added to your page. Make sure to select your layout from the right-hand Layout dropdown and then click Publish.