Join our community to connect with fellow users and share tips.
Order bumps are product recommendations that appear when a customer adds a certain item to their cart. These promotional items appear depending on how you set them up. In this guide, we’ll show you how.
To add order bumps to your store, take the following steps:
From your WordPress dashboard, go to Products > All Products and click to edit the product you want to add the order bump to.
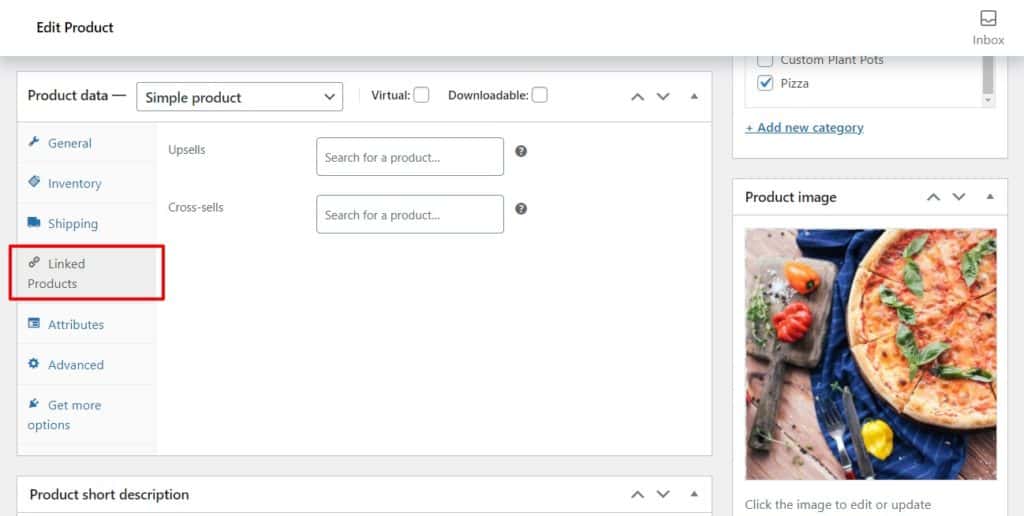
Scroll down to the Product data section of the page and click the Linked Products tab on the left.
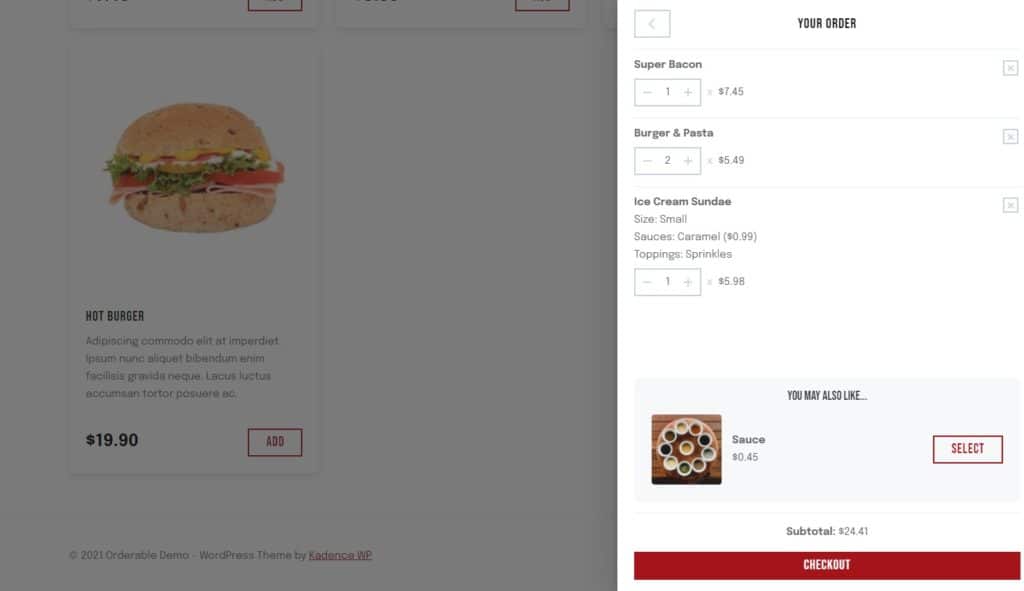
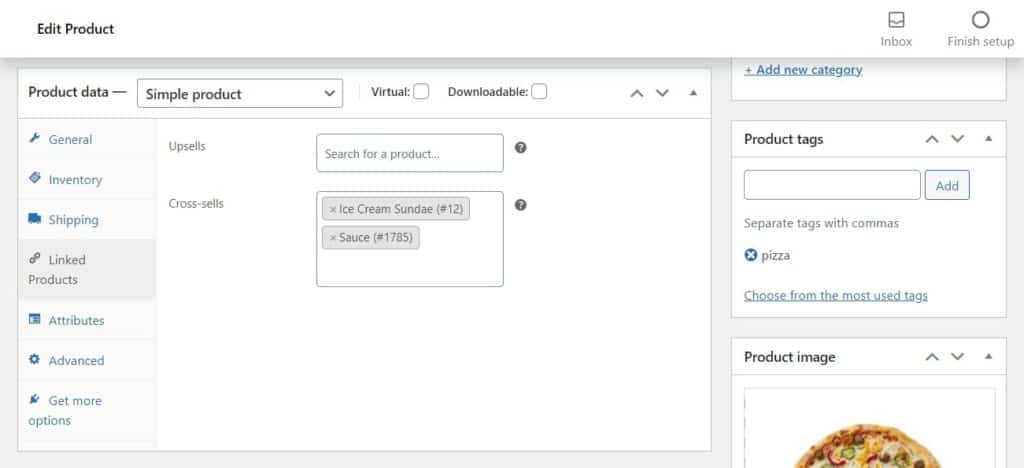
Here you’ll see a section called Cross-sells and a field next to it. Click inside this field and start typing the name or product ID of the product you want to appear as a cross sell. This product will then appear as a ‘You may also like…’ product when a customer adds the product you’re currently editing to the cart (as shown above).
Once you’re happy with your addition, scroll up to the top of the page and click the blue Update or Publish button.
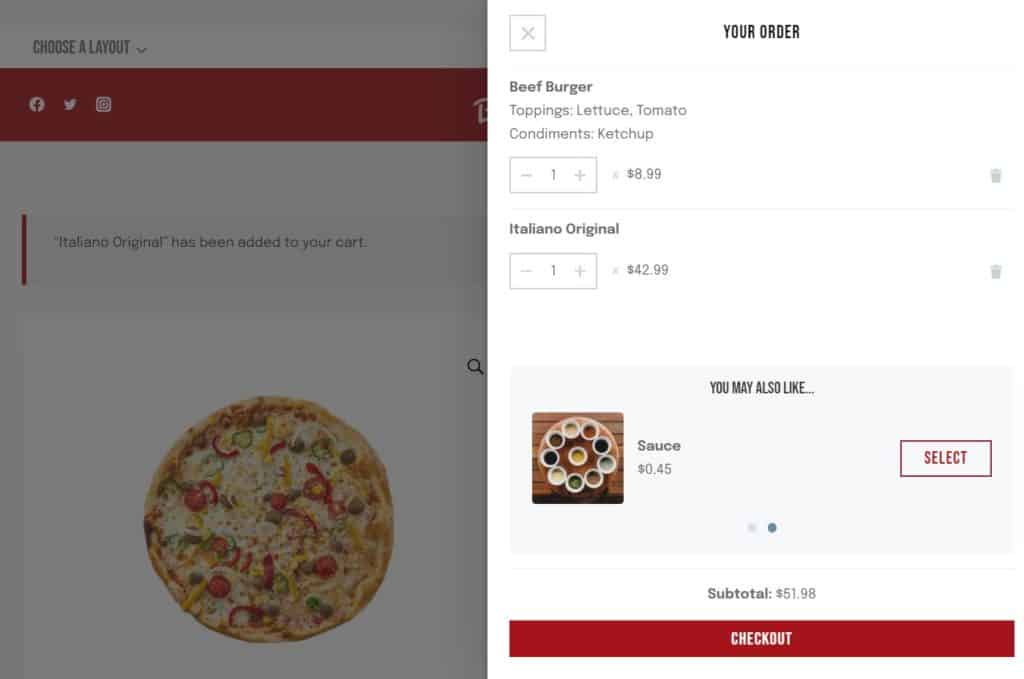
Note: You can add more than one product to the Cross-sells section. If you do this, the order bumps in the ‘You may also like…’ section of the cart will appear as a slider for customers to swipe through.