

If you’re looking to create or edit ticket/receipt layouts in Orderable, this guide will walk you through it.
Using Orderable, you can create and customize your own receipt layouts. This includes everything from kitchen and delivery tickets, to packing slips, and order confirmation receipts. These are created using the WordPress block editor, giving you the ability to completely customize everything from the contents, spacing, and design of your receipts.

Create a new receipt/ticket layout
To create your own receipt/ticket layouts, take the following steps:
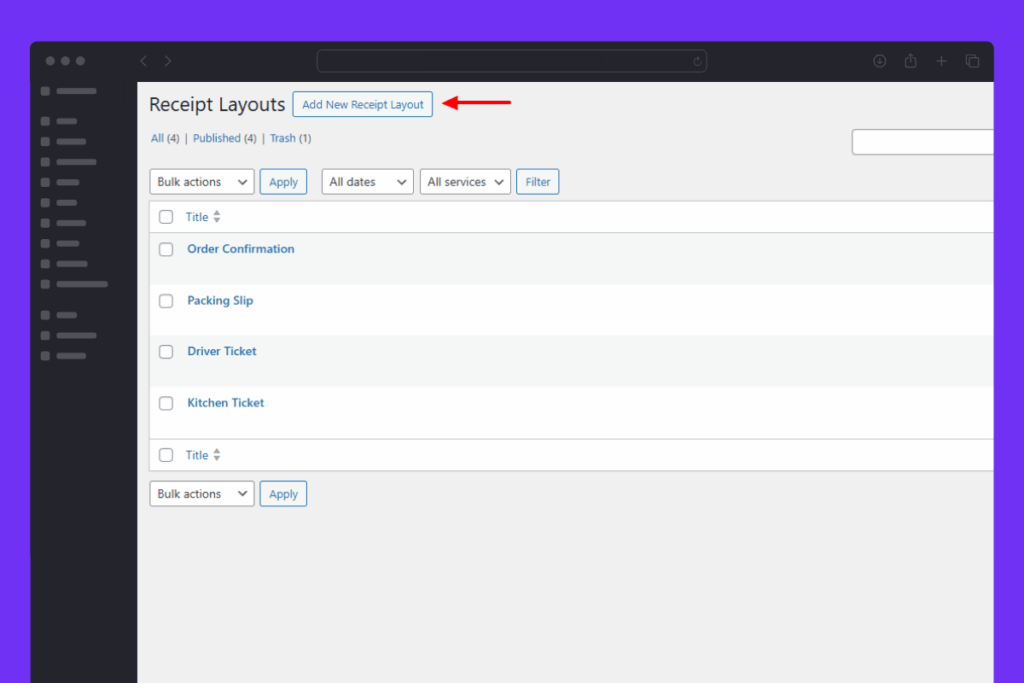
- From your WordPress dashboard, go to Orderable > Receipt Layouts. Here, you’ll see some receipt layouts we’ve already made for you. You can edit these by clicking on them. Or click the Add New Receipt Layout button at the top of the page. This will open up the WordPress block editor, where you can create your receipt layout.
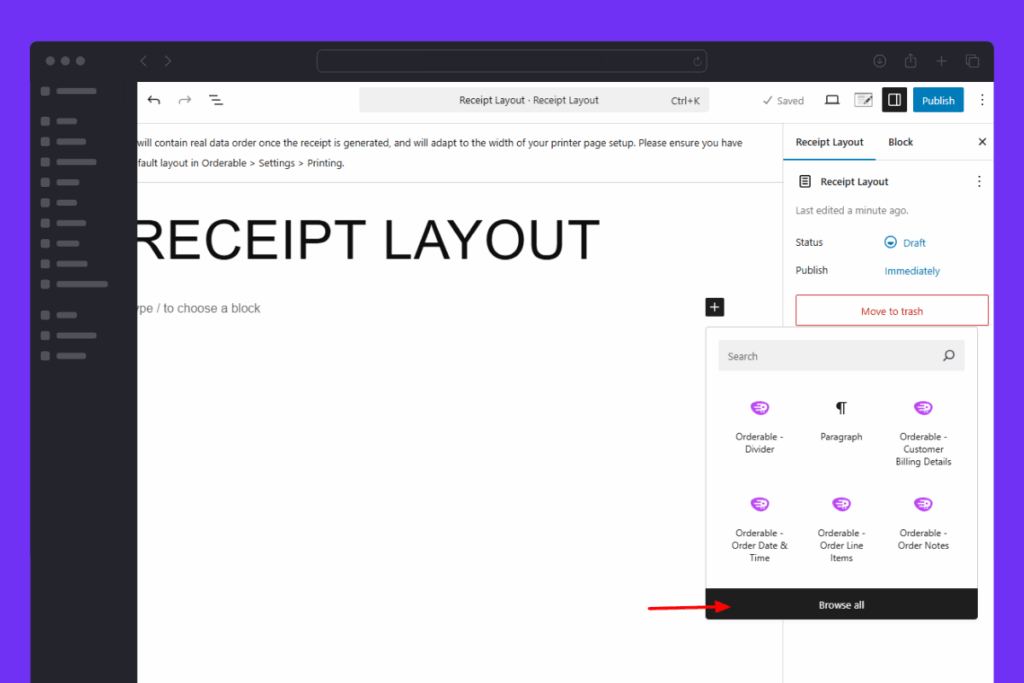
- If you want to create yours from scratch, you can either add our pre-built templates to your new layout or individually add each part of your receipt layout. To do this, click the black plus icon on the screen and click Browse all.
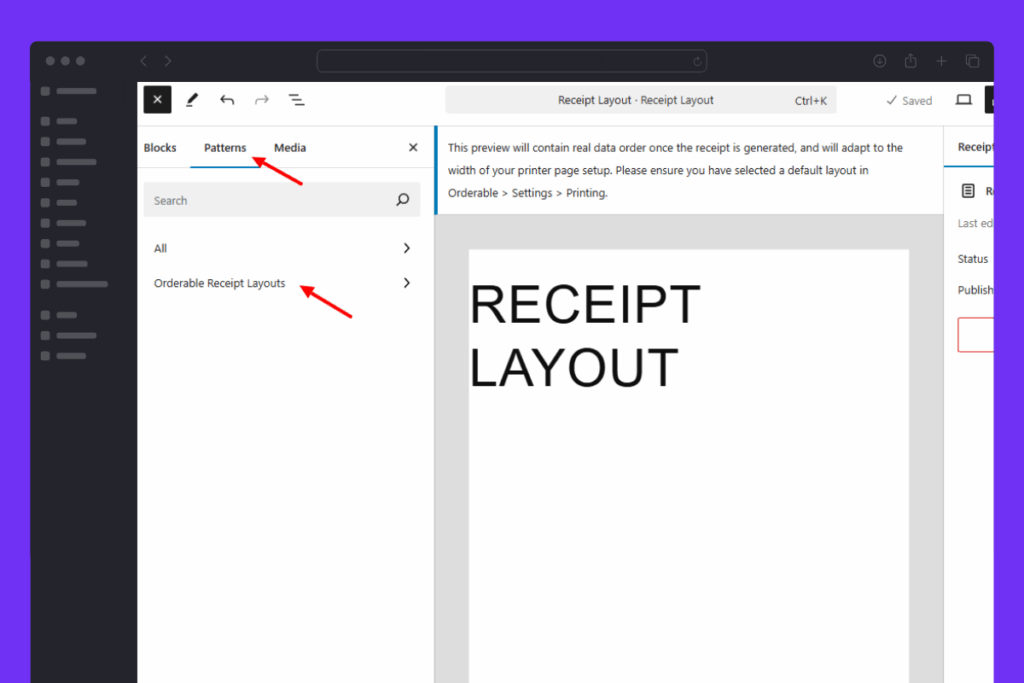
- In the side menu that opens up, click Patterns and then Orderable Receipt Layouts.
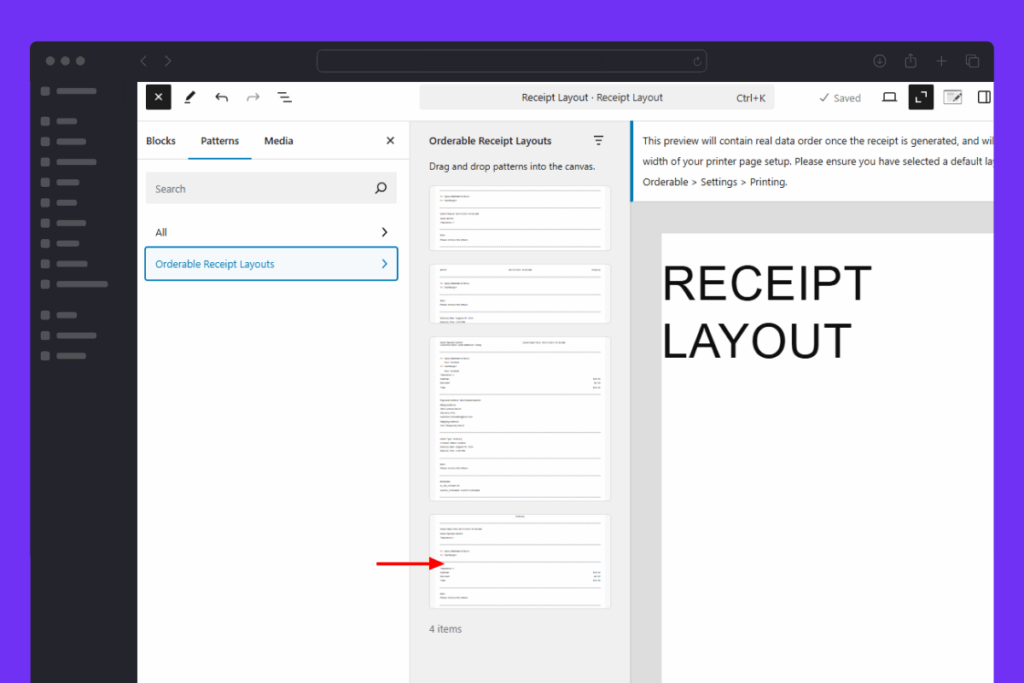
- Here you’ll see a selection of pre-built templates. Click on one to add it.
- Once added, you can click on each element of the receipt layout to edit it. Make sure to click the Settings icon at the top of the screen to see your edit options.
- Here you have various settings like hiding and showing labels, changing the label text, adjusting colors, padding, margin, and more.

- If you want to add more elements to your ticket layout, for example, the order total, table number, order notes, and more, you can do so by adding a new block. Click the black plus icon and click Browse all.
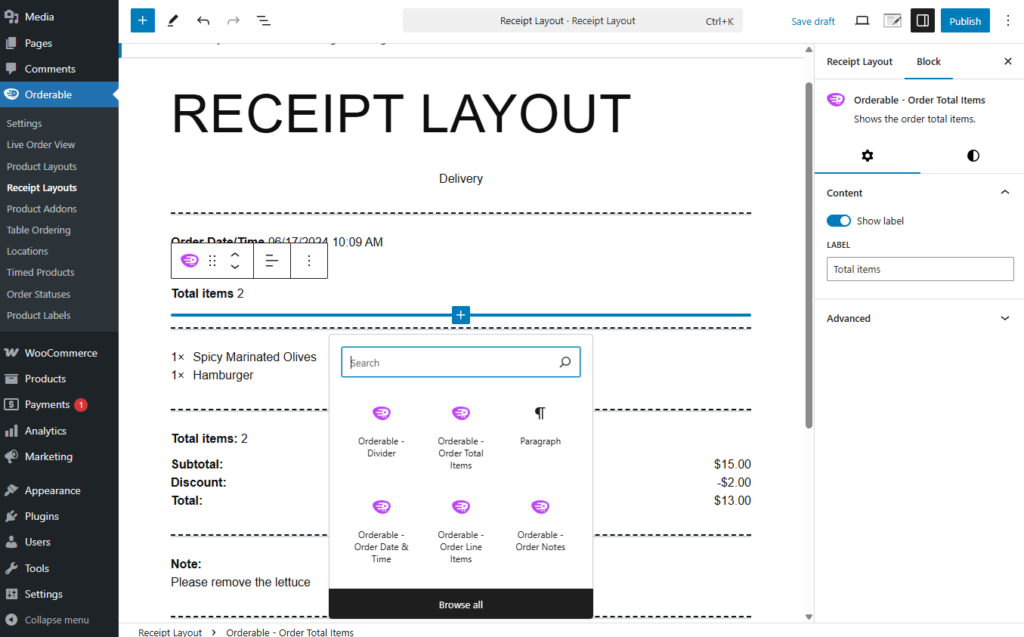
- Then, either scroll until you find the Orderable section or type ‘Orderable’ into the search bar. Here you’ll see all the available things you can add to your receipt layout. Click to add them.

- Because this uses the block editor, you can add some basic blocks you could normally add to a WordPress page or post. As long as your printer can handle it, you can add it.

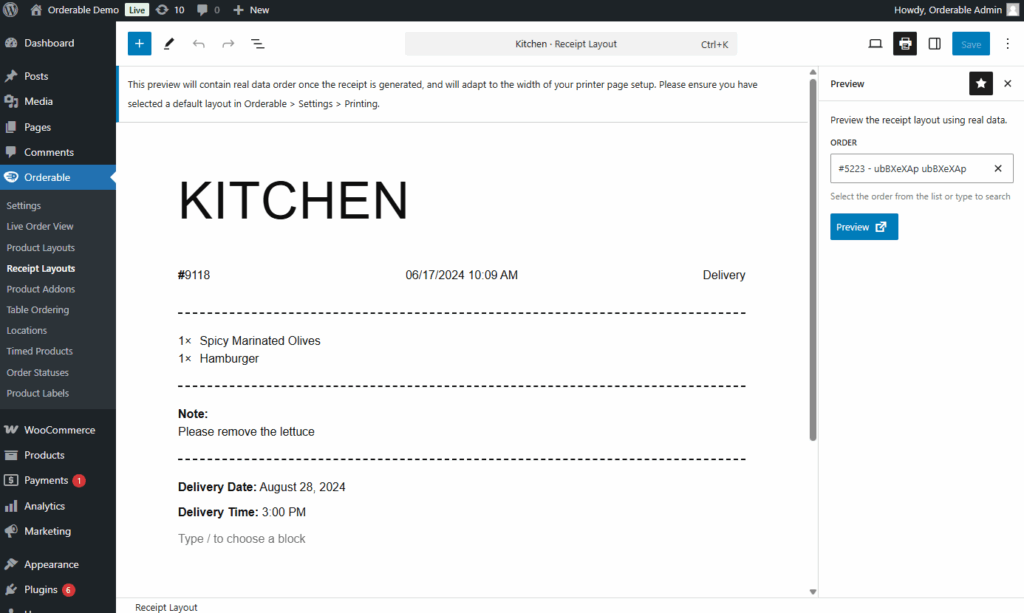
- At this point, you can see what your receipt layout will look like with an actual order. To do this, click the preview printer icon near the top-right of the editor.

- Once clicked, you can pick one of your last four orders to preview your layout.
- Once you’re happy with your layout, click Publish. You will then be able to select your receipt layout when clicking on an individual order.

Note: All elements you add to your ticket layout can be rearanged, either by using the up and down arrows when clicking on an item in the layout, or by dragging and dropping them.
Customize global layout settings
If you want to change design settings like font size and preview width across all of your receipt/ticket layouts, you can do so with some global settings.
To find and change these, take the following steps:
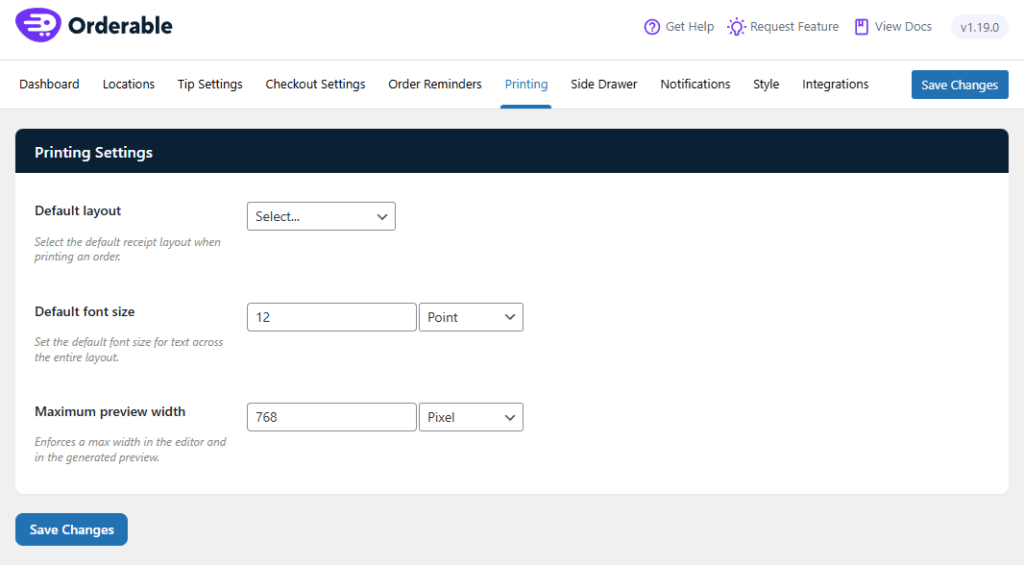
- From your WordPress dashboard, go to Orderable > Settings and click the Printing tab/link at the top of the page.
- Scroll down and you’ll see some global settings. These allow you to adjust the preview width of your receipt and the font size.
- Once you’re happy with your changes, make sure to click the Save Changes button.
Get Your Restaurant Online With Orderable
The WooCommerce plugin designed to help restaurants take orders online – with no added fees!
View Pricing
