

If you’re looking to add the ability for customers to tip you at the checkout, you can do so with Orderable Pro and this guide to checkout tipping.
To add checkout tipping, take the following steps:
- From your WordPress dashboard, go to Orderable > Settings and click the Tip Settings tab at the top.
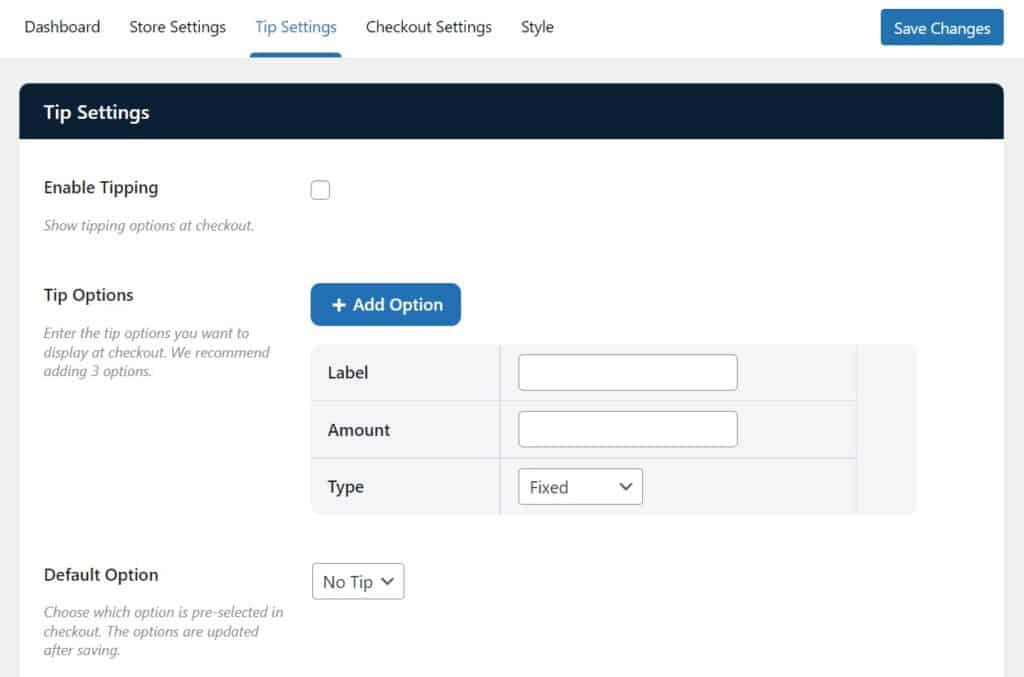
- Click the checkbox next to Enable Tipping to activate tipping at the checkout.

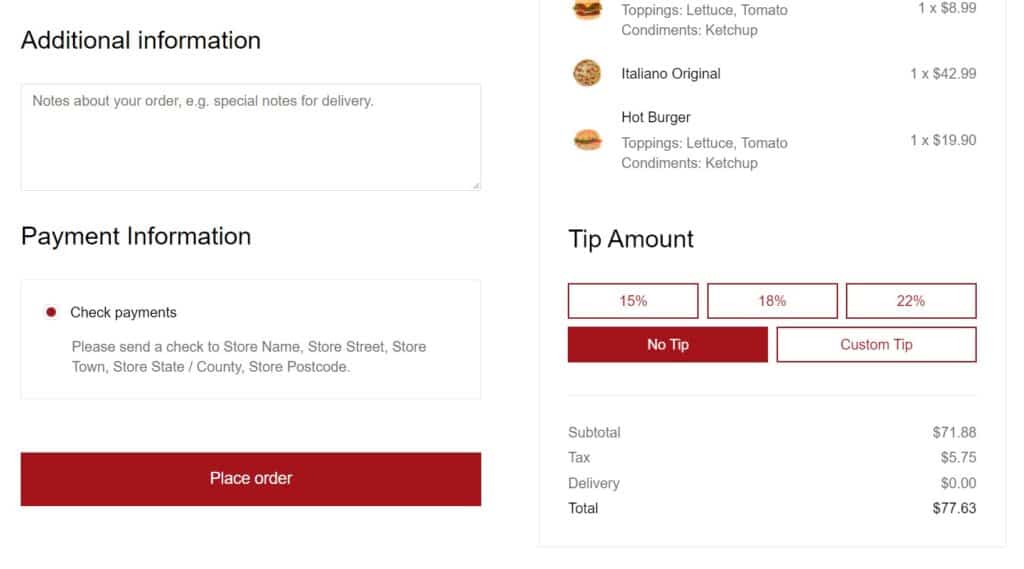
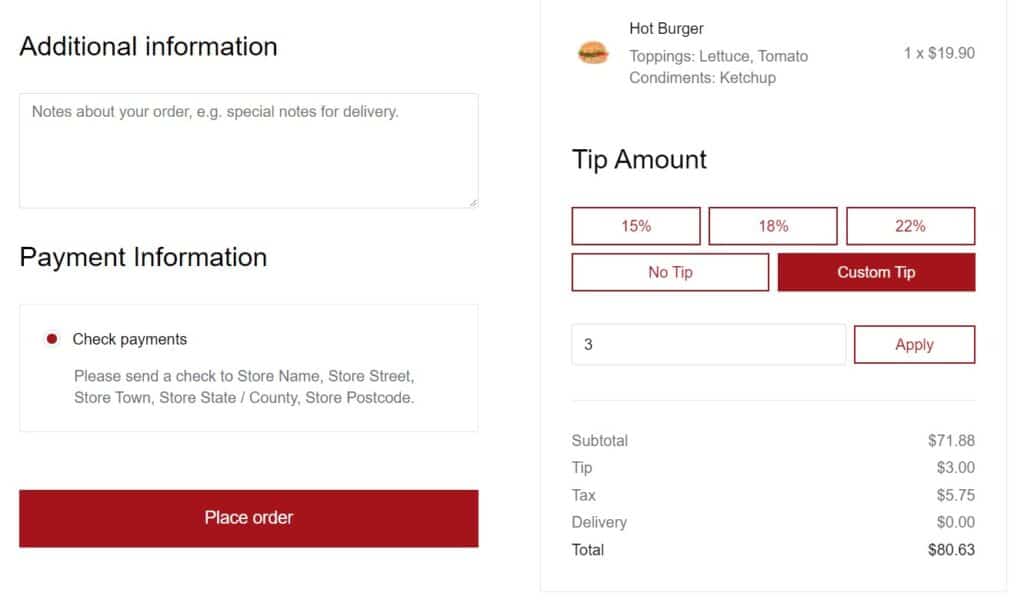
The next few settings allow you to customize what checkout tipping options the customer sees. In our demo, we have a few different tipping options, a ‘No Tip’ option, and a ‘Custom Tip’ option so customers can be specific.
For the purposes of this guide, we’ll set all of these up, but you can customize each to suit your store.
- In the Tip Options section, you can add any number of specific tip amounts but we generally recomend adding three.
- Label – This is what the customer will see on the tip button. Usually you’d add the tip amount here. In our case, 15%.
- Amount – This is the actual tip amount you want to add. In our case, 15.
- Type – The dropdown here will allow you to determine if this tip amount is fixed ($15), or a percentage (15%).
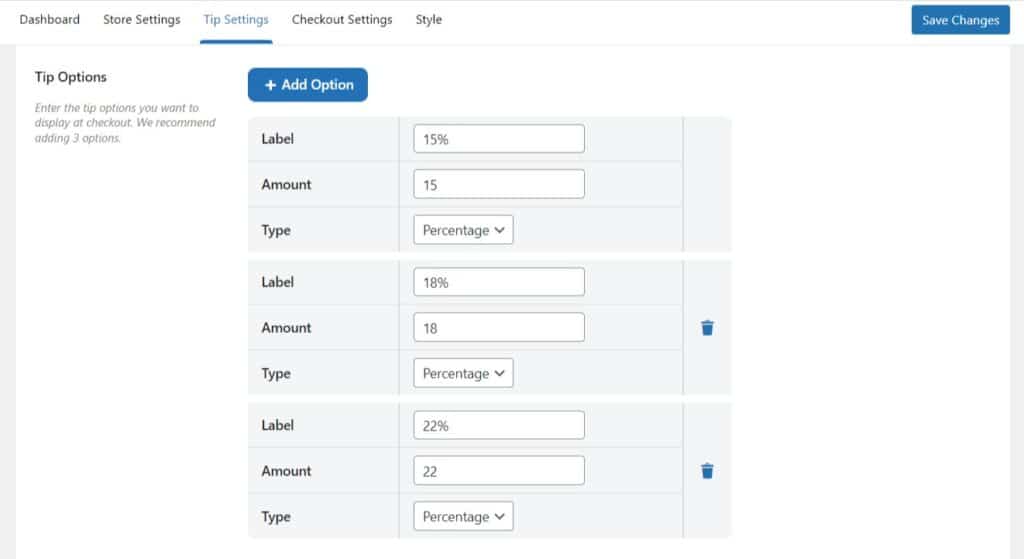
- To add another tip option, click the blue + Add Option button.
- Next we’ll want to select which of the options on this page we want to have selected by default. In most cases this will be the ‘No Tip’ option. To change this, click the dropdown next to Default Option and select which you’d like to see.
- To see the tip options you just created in this dropdown, you might need to click the blue Save Changes button at the bottom of the page and refresh the page.
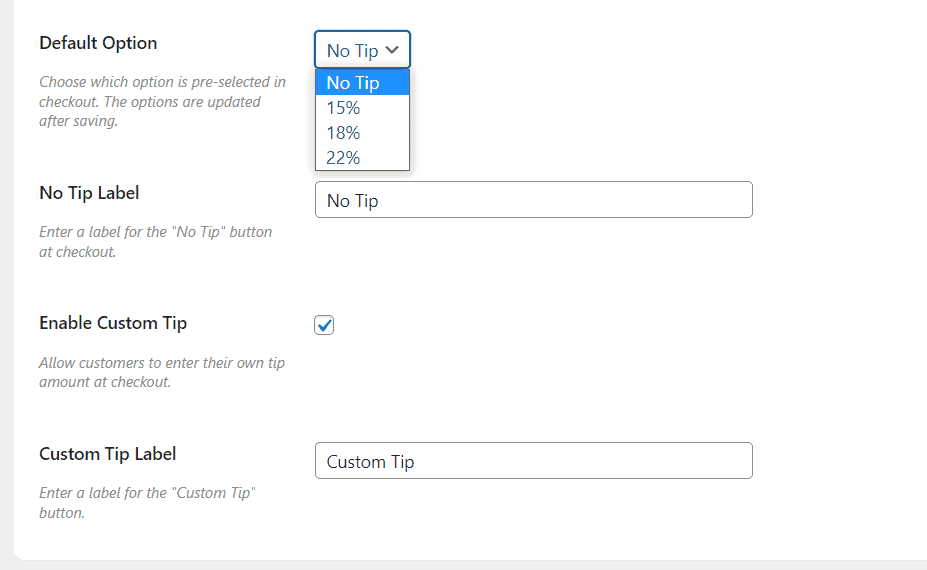
- The next option (No Tip Label) allows you to change what the No Tip button’s text says. You can add anything you like here.
- Finally, you can add a Custom Tip button. When a customer clicks this button, a field will appear allowing them to add a custom tip amount (percentage).
- To make this appear, click the checkbox next to Enable Custom Tip.
- To change the text on the custom tip button, change the Custom Tip text next to Custom Tip Label.
- Once you’re happy with your tip settings, click the blue Save Changes button at the bottom of the page.
Using a shortcode
You also can use the shortcode [orderable_tip] to position the Orderable Tip on the Checkout page. It can be useful if you are creating the Checkout page using a page builder like Divi or Elementor.
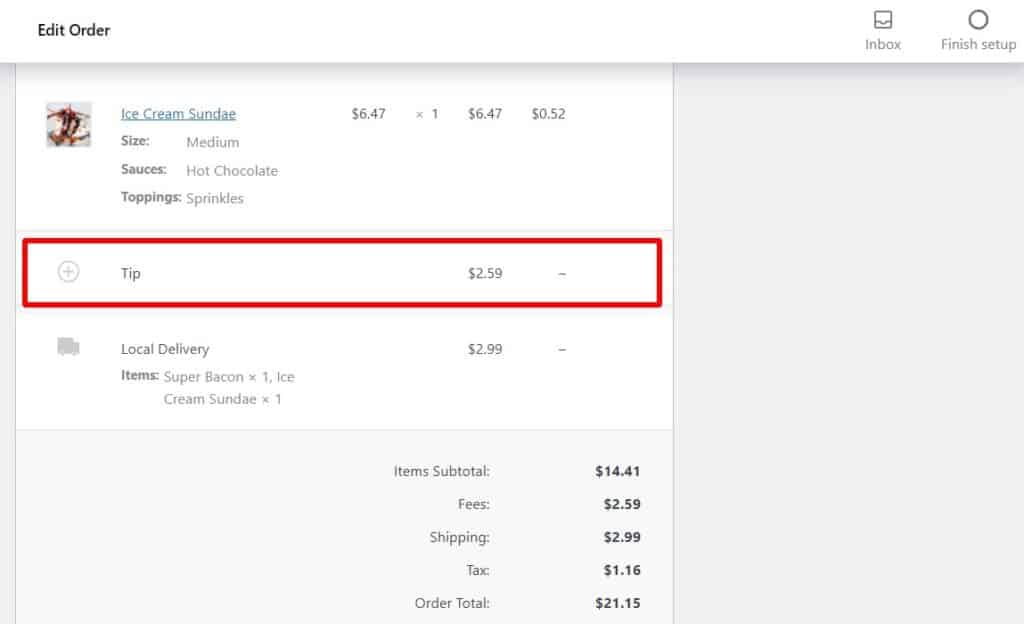
That’s it! Your store can now accept tips on orders. These will then be visible in each order summary.
Get Your Restaurant Online With Orderable
The WooCommerce plugin designed to help restaurants take orders online – with no added fees!
View Pricing
