Join our community to connect with fellow users and share tips.
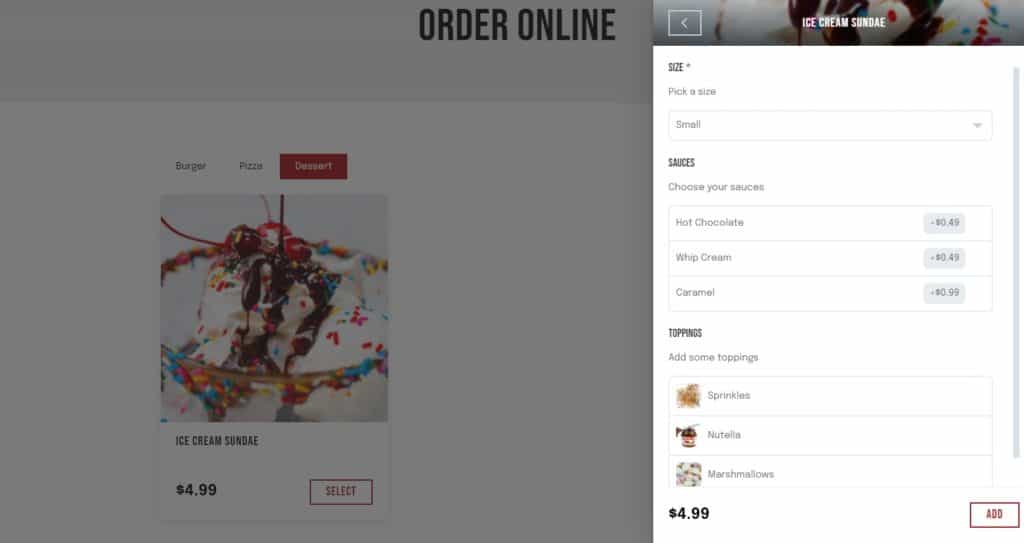
With Orderable, you can add product options to your menu items. These product addons can be anything from additional toppings, to gift wrap, sauces, customization, and more.
To set up your product options/addons, take the following steps:
From your WordPress dashboard, go to Orderable > ProductAddons.
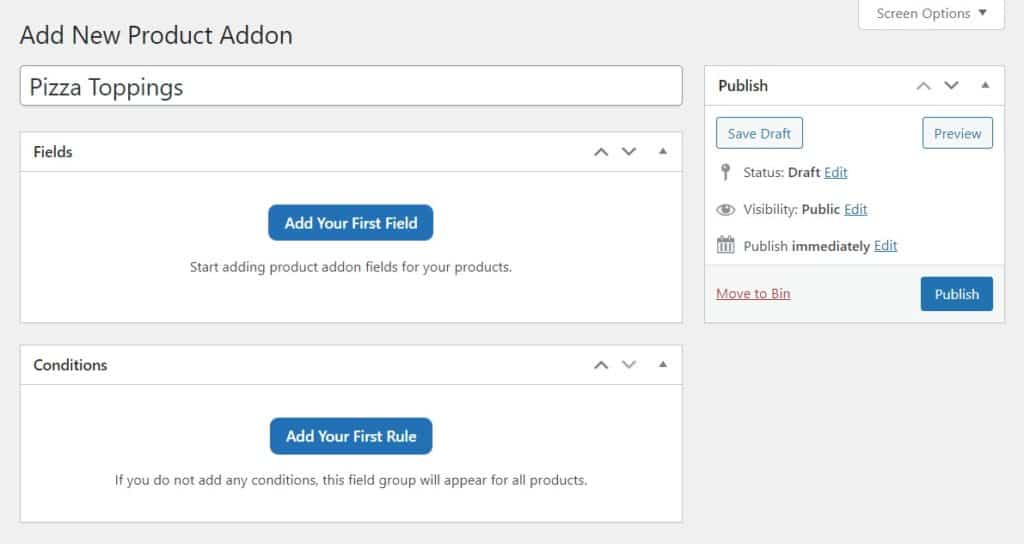
Then click the Add New button at the top of the page.
Give this set of options/addons a name in the Add title field (eg ‘Pizza toppings’).
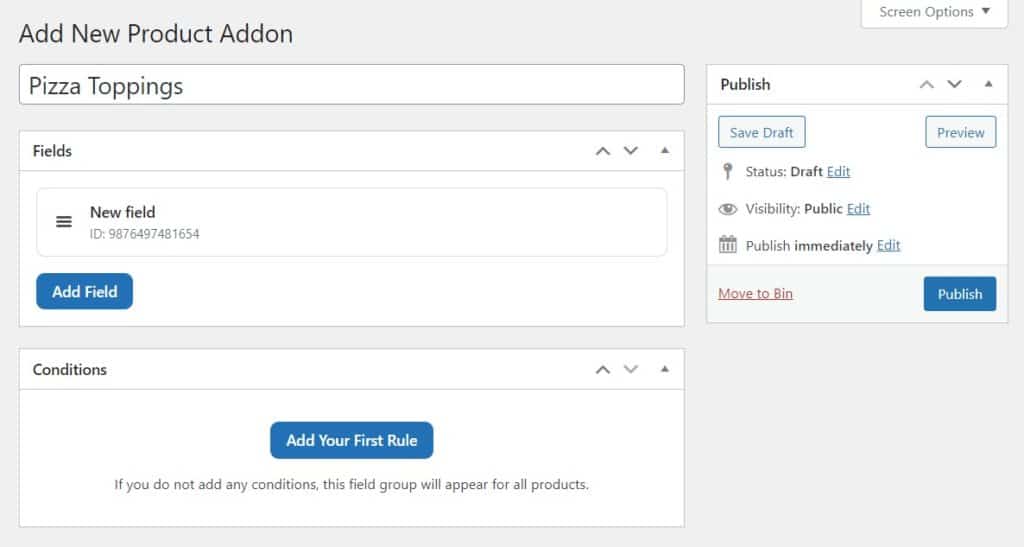
Then click the blue Add You First Field button. Your New Field should now appear.
Click on New Field and it will show you all the options you can customize.
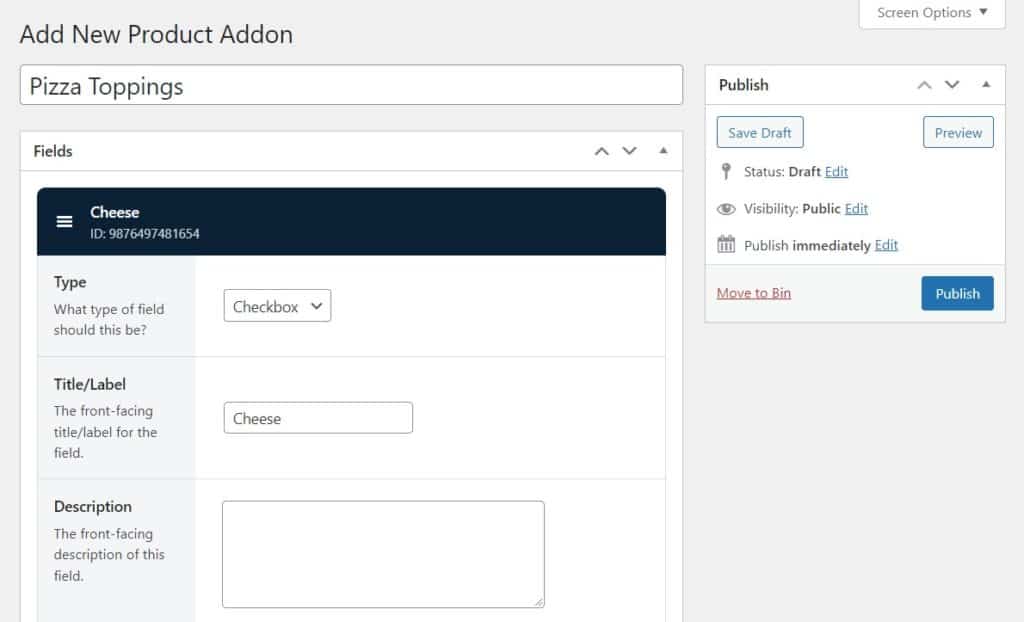
In Type, choose which type of field you want. For example, if you want customers to be able to only select one option, choose a dropdown or radio. If you want them to be able to select multiple options, choose checkbox.
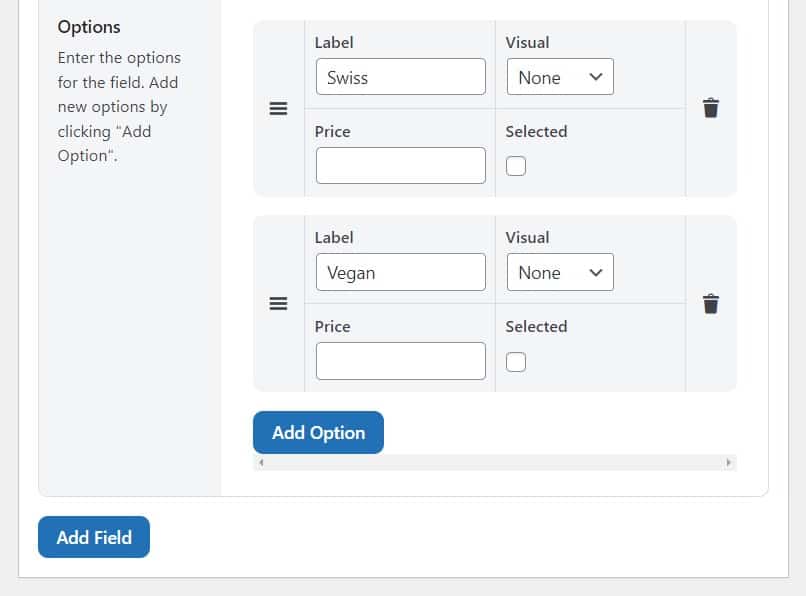
Give the set of addons a name in the Title/Label section (eg ‘Cheese’).
Add a Description if you’d like, and choose whether this field is Required to be selected by your customers.
Add your options by clicking the blue Add Option button (eg ‘Swiss, Cheddar, American’). You can give these their own price and depending on the Type of field (step 6), you can change a few additional settings.
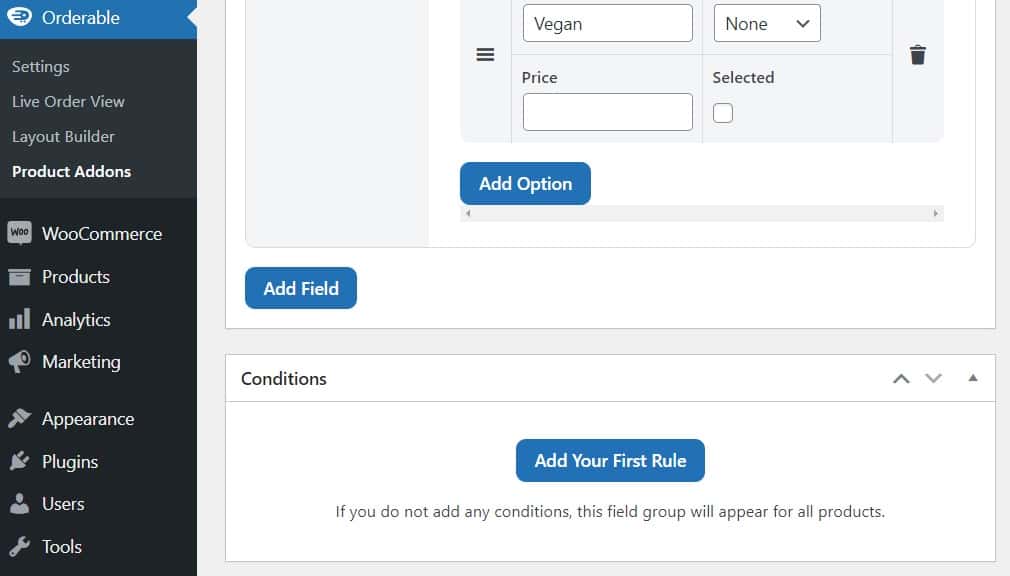
Next, scroll down to the Conditions section and click the blue Add Your First Rule button.
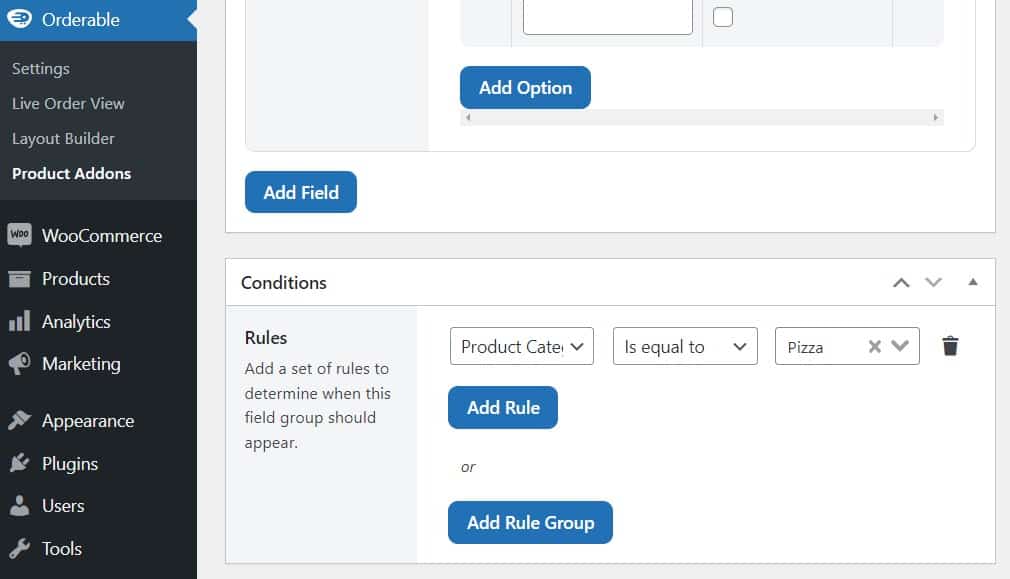
Add your conditions here (eg ‘Product Category > is equal to > Pizza’).
Once you’re happy with all your product addons/options, scroll up to the top of the page and click the blue Publish button.
Note: You can make as many different add-ons and rules as you like. Just repeat the above steps each time you want to create more.