Join our community to connect with fellow users and share tips.
When creating your locations and adding your services, you’ll be able to create delivery zones for these services. This guide will walk you through how to set these up and then edit them should you need to.
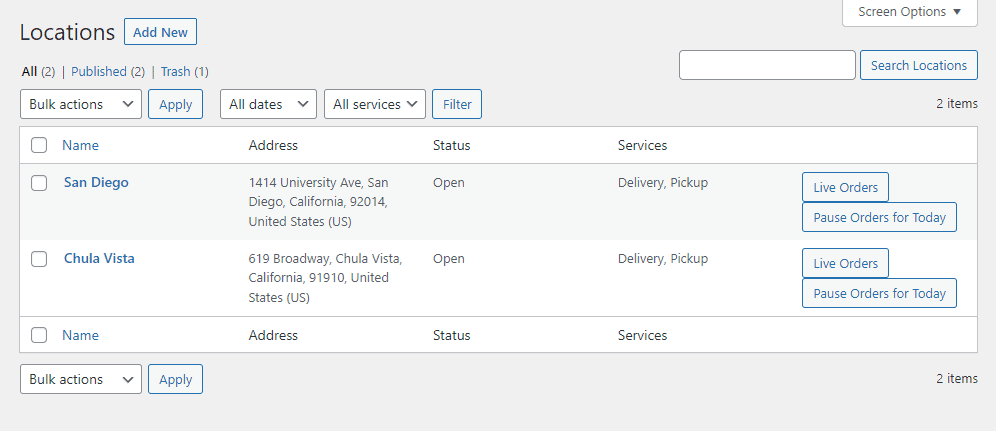
From your WordPress dashboard, go to Orderable > Location (or Locations if using Orderable Pro) and click to edit the location you want to add delivery zones to.
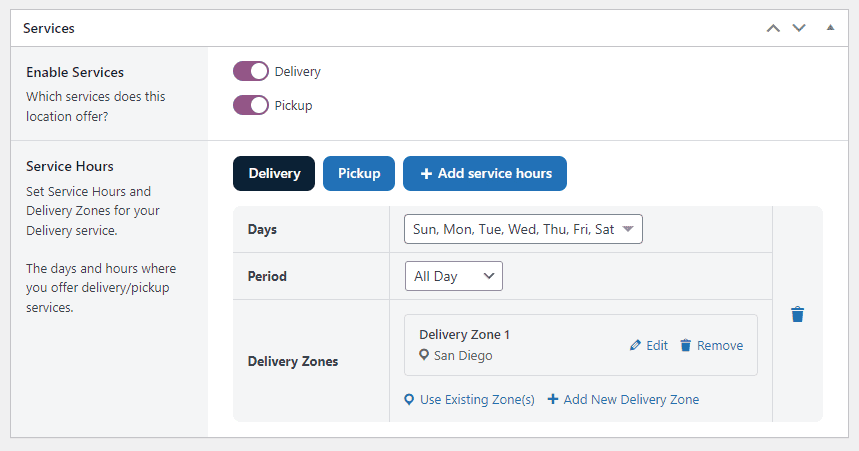
Scroll down the page until you get to the Services section, and make sure you’ve enabled Delivery.
Once done, you’ll be able to add your service Days, Period, and, underneath, Delivery Zones.
Click the Add New Delivery Zone link to create a new one (you can also Use Existing Zones(s) here if you’ve already created them).
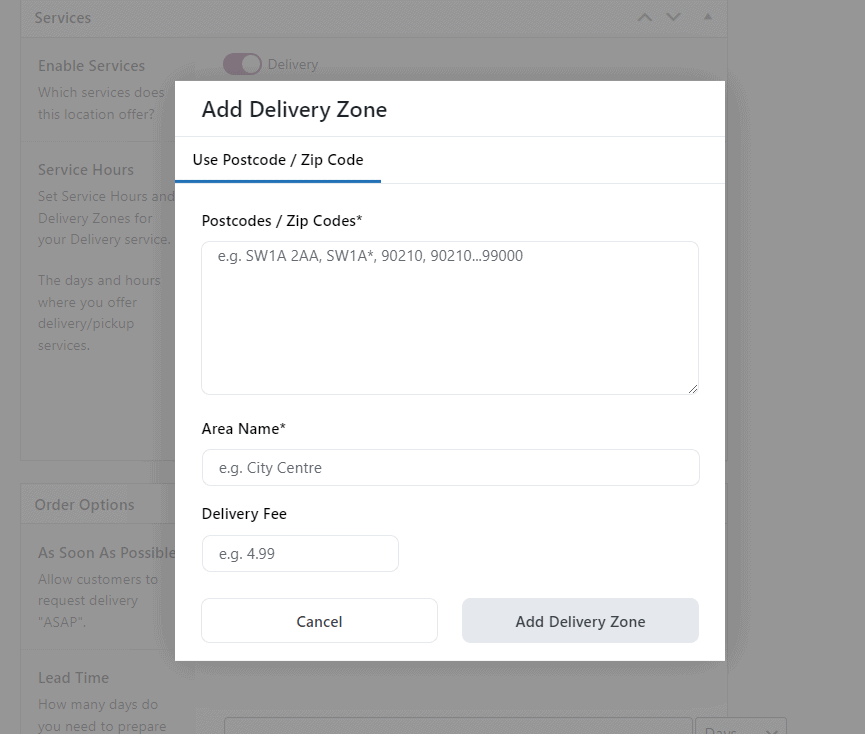
A popup will then open, allowing you to customize your delivery zone. Delivery zones can currently be set via a list of postcodes or ZIPcodes. Enter as many as you need, separated by a comma in this large field.
Give this zone a name and a fee if you need to. Then click the Add Delivery Zone button to finish.