

If you’d like to send SMS order notifications to your customers, you can do so with Orderable.
Note: This requires you to have set up a Custom Order Status first. See our Custom Order Status doc for more information.
To set up these notifications, you’ll first need to sign up for a Twilio account. This will allow you to link WhatsApp and Orderable together.
Step 1: Create your Twilio account
To set up your Twilio account, take the following steps:
- Go to twilio.com and sign up for an account. Note that this might look different from the screenshot below.
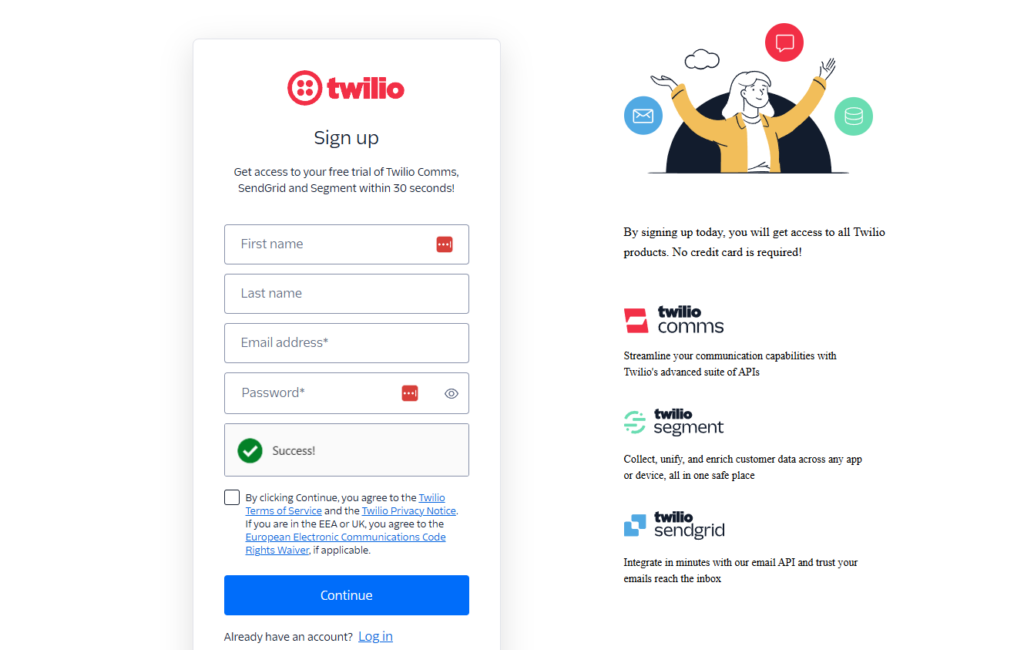
- Twilio will provide you with an onboarding setup.
Step 2: Create a messaging service and link it with Orderable
Next, we’ll need to set up a messaging service in Twilio. This will allow us to link Orderable and Twilio together.
To do this, take the following steps:
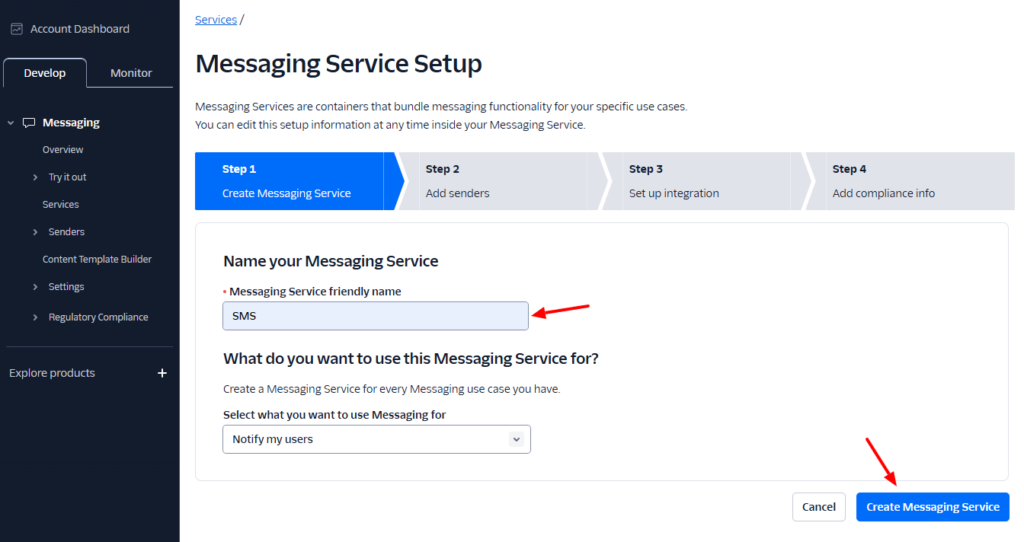
- From your Twilio console, go to Messaging > Services and click the Create Messaging Service button.

- Give it a name, and then click the Create Messaging Service button.
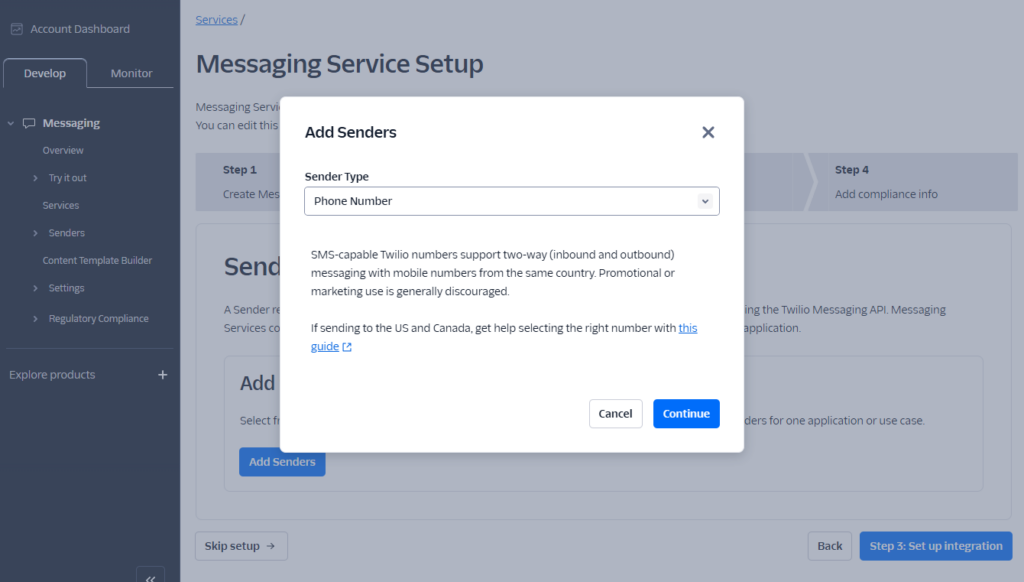
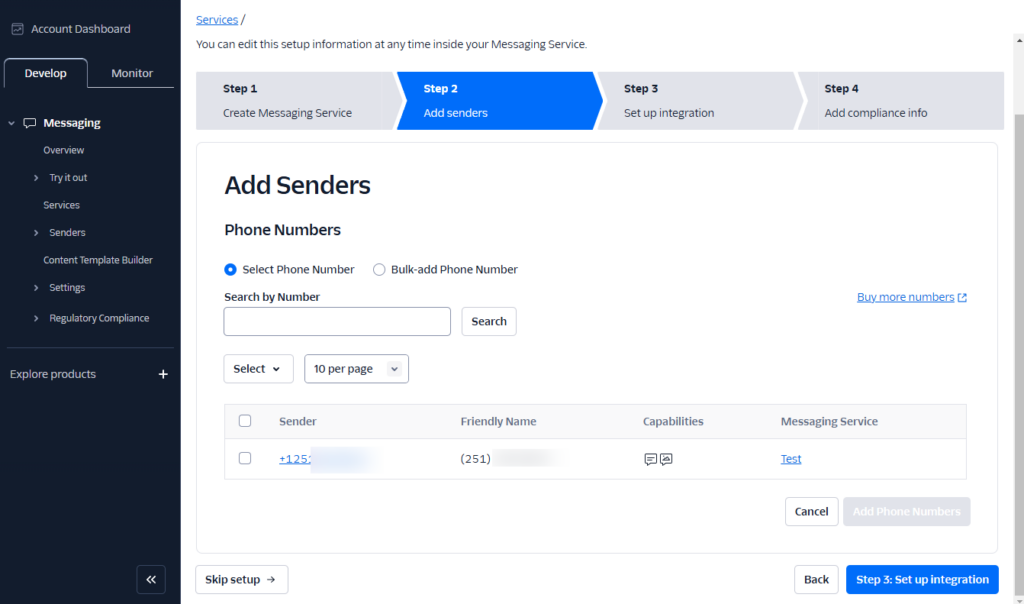
- Next, you’ll need to add your Sender Pool. Click the Add Senders button, and a popup will appear asking you to select your Sender Type. In this case, we’ll select Phone Number.
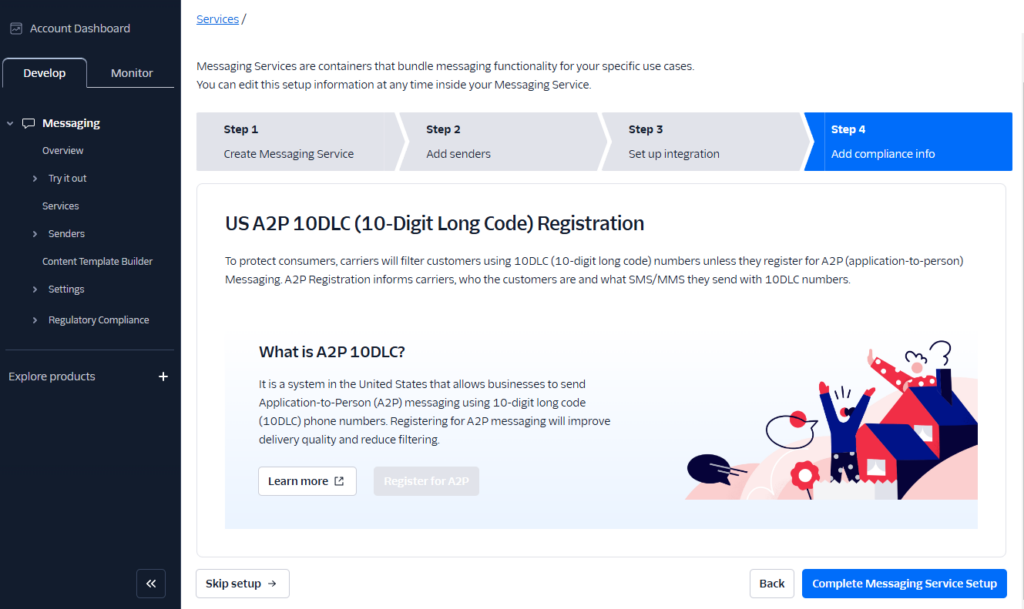
- Next, click the Step 3: Set up integration button.
- Step 3 allows you to customize how Twilio works with Orderable. We’ll leave everything as default settings here.
- Step 4 allows you to set up compliance information. If you’re happy with all these stages, click the Complete Messaging Service Setup button at the bottom of the page.
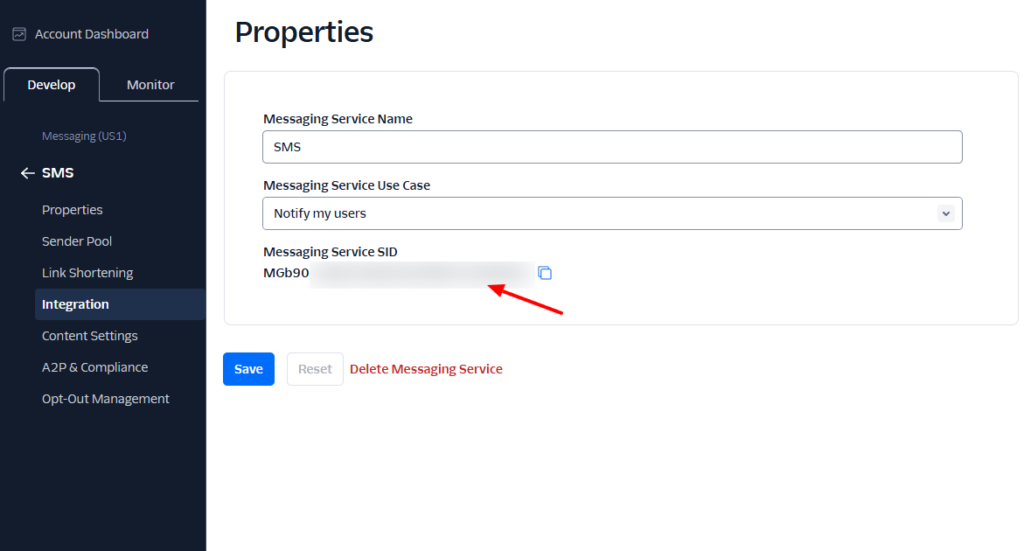
- Once done, you’ll see a page called Properties. On this page, you’ll find your Messaging Service SID. Copy this because you’ll need it to sync Twilio with Orderable.
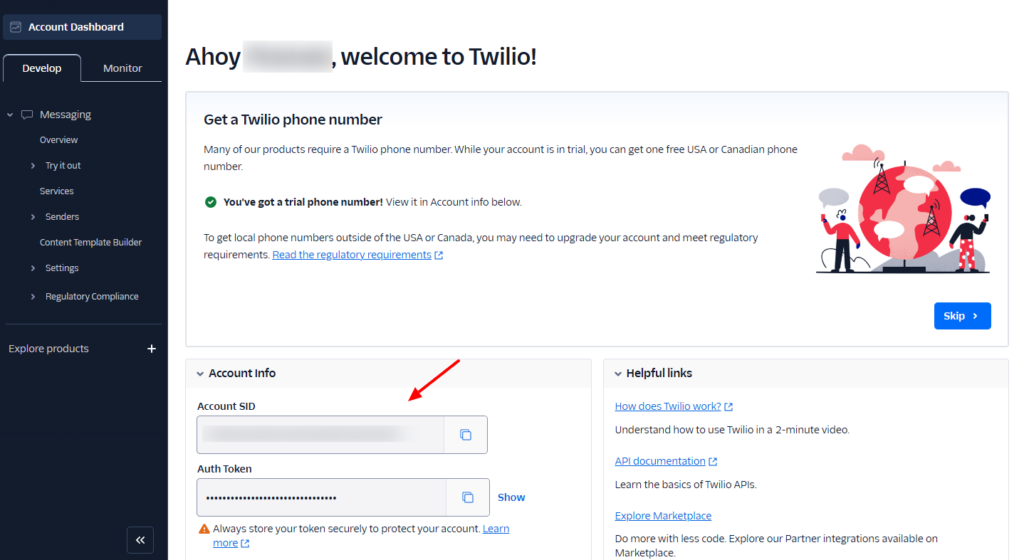
- Before we go into your Orderable settings, we need two more things. Your Account SID and Auth Token. You can find these on your main Twilio account dashboard. Copy both of these.
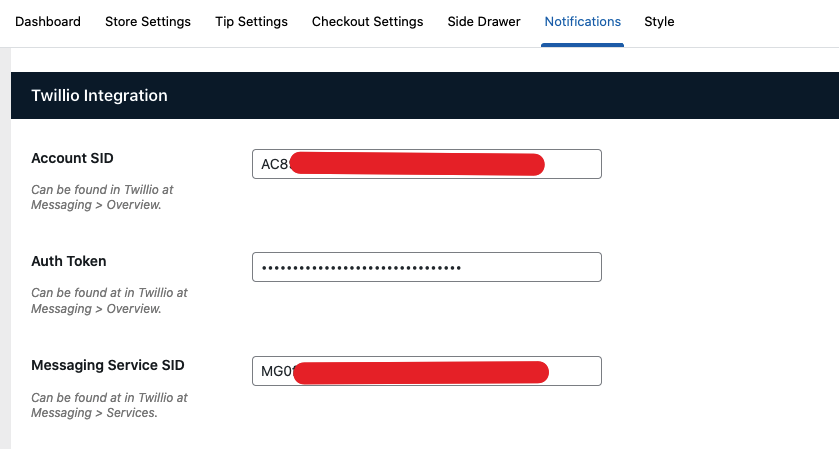
- Then, from your WordPress dashboard, go to WooCommerce > Orderable and click the Notifications tab at the top.
- Scroll down to find the Twillio Integration and paste these values into the respective text boxes.
Now we’ve connected the two services together, let’s create our order notification in Orderable.
Step 3: Create a SMS order notification
To create your SMS order notification, we first need to create an order status. Then we can create any number of order notifications or SMS messages for those statuses.
To do this, take the following steps:
- From your WordPress dashboard, go to Orderable > Order Statuses, and click Add New.

- Give your order status a name and slug. If you want you can customize it with color and an icon too. For a more detailed tutorial on order statuses, view our order status doc.
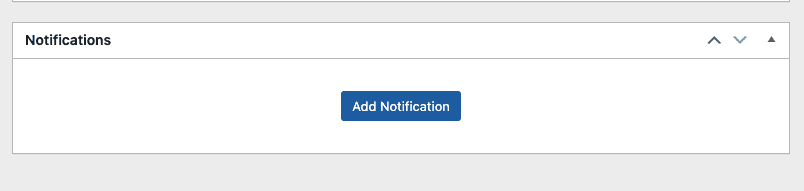
- Next, scroll down the page to find the notifications box and click on the Add Notification button.
- For Type select SMS and select a Recipient. You can choose to send the message to the customer, admin, or to any custom number (for example, if you have a delivery driver).
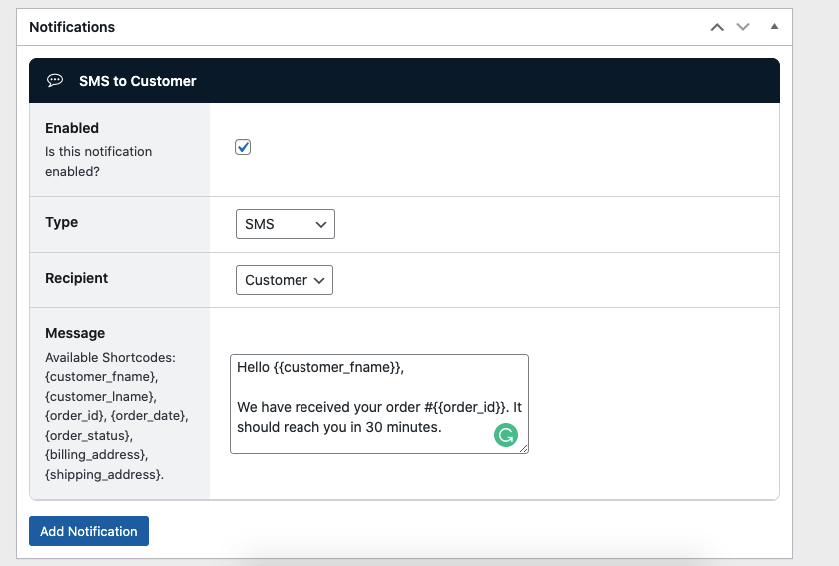
- In the message template, you can copy the shortcodes from the left column into the message box. The shortcodes would automatically be replaced with their actual values. For example, if you use {{customer_fname}} shortcode, it will be replaced with the customer’s first name when the notification is sent.
- Once you’re happy with your settings, click the Publish button at the top of the page.
Get Your Restaurant Online With Orderable
The WooCommerce plugin designed to help restaurants take orders online – with no added fees!
View Pricing
