How to Create Custom WooCommerce Product Badges
How to Create Custom WooCommerce Product Badges


Gina Lucia


Do you have a WooCommerce store and want to create custom WooCommerce product badges? Then this is the article for you. This tutorial will show you how to create custom WooCommerce product badges in just a few minutes.
Product badges are an extremely useful tool store owners can use to highlight specific features about a product, draw the customers’ eye, improve customer experience, and so much more.
So let’s get them added to your store the easy way, with the WooCommerce plugin, Orderable Pro.
Get Your Restaurant Business Online With Orderable
Orderable is a user-friendly WordPress plugin that adds online ordering to your restaurant website.
Add your dishes, create your online ordering menu, customize your delivery schedule, and manage orders with ease.

But first, let’s address what WooCommerce product badges are.
What are WooCommerce product badges?
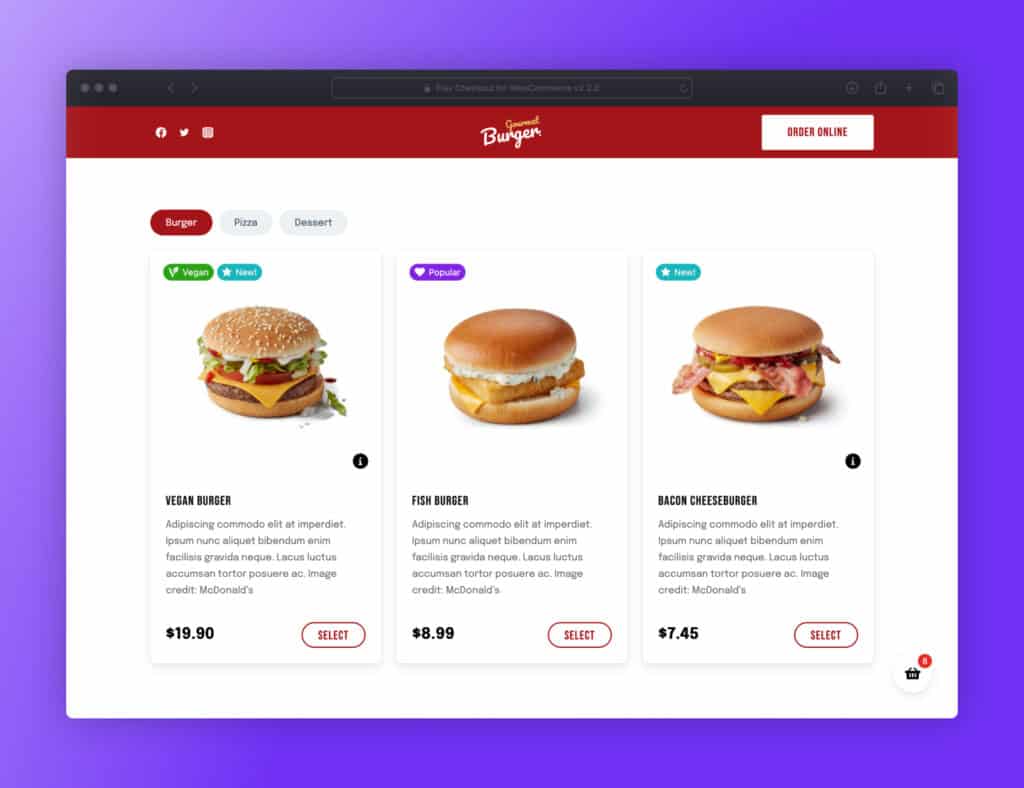
WooCommerce product badges, in their basic form, are text and/or icons that appear either over the product image or near a specific product.
These badges can be used to:
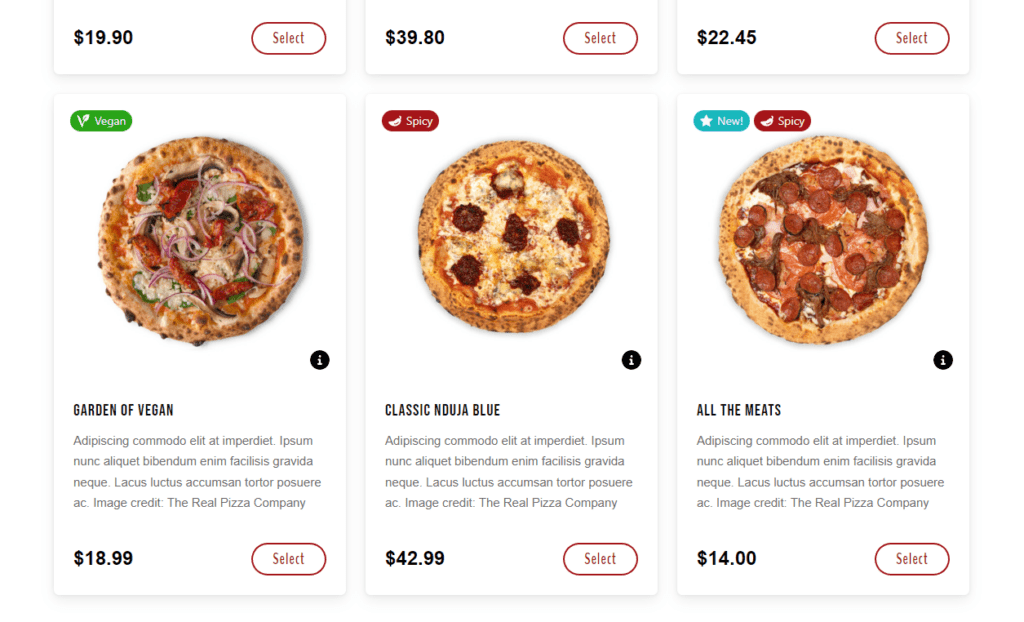
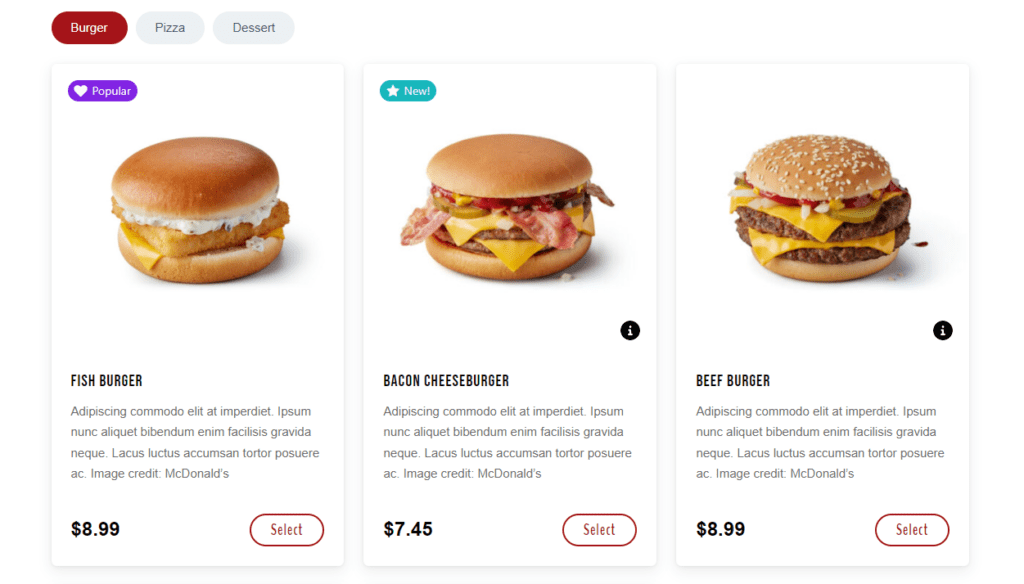
- Showcase specific product features – this could be dietary labels like gluten-free, vegan or halal.
- Highlight a product to increase sales – either by showing the product is on sale with a WooCommerce sale badge, a pick of the day badge, or a new product badge.
- Showcase social proof – this could be done by adding a popular product label, bestsellers, going fast, and more.
These badges can really stand out and draw your customer’s attention to specific features or benefits of your product.
That said, there are no rules! The sky is the limit with badges. If it helps attract more customers, then it’s worth experimenting until you find what works best for your store.
Why use product badges in your online store?
At this point, you may be asking yourself, “Why should I add product badges to my online store?” Let’s go through a few very specific benefits.
Product badges increase sales
We now know that product badges are an easy way to add extra information to your product and shop pages. But the beauty of WooCommerce product badges is that they help you increase sales.
They do this by helping customers make better buying decisions that match their needs and preferences.
Let’s say you run a restaurant or online store selling food items. If customers browse your products and can’t find ones that match their dietary preferences quickly, they may go elsewhere.
By adding product badges to your ecommerce store, you’ll help customers find products that suit their preferences and needs quickly – reducing the number of lost customers.
Product badges help showcase social proof
Social proof is huge. Customers are increasingly looking for any indication that your site can be trusted with the proof that other people are buying from you too.
Adding WooCommerce product badges to your online store can help with this. They give a visual indication that other people are buying from your WooCommerce store if you use them strategically.
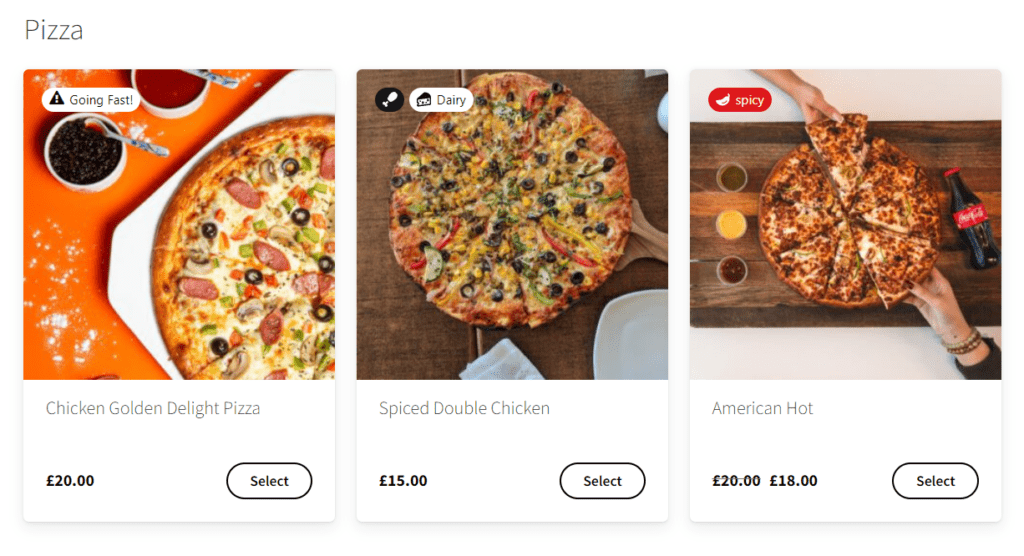
For example, if you add custom badges that say ‘Popular’ for products purchased most often or ‘Going Fast’ for products low in stock, you’ll give your customers a visual indication of social proof at-a-glance.
Product badges improve your customer experience and increase trust
Product badges are great for customer experience. Customers have less and less time to browse stores these days. So want to be able to find the products they’re looking for as quickly as possible.
Product badges act like a helping hand, drawing your customer’s eye to the specific features they might be looking for.
Again if you sell food items, this could be dietary labels, spice levels, chef’s choice, and more. If you don’t sell food items, these could be new products, a top pick, great for specific holidays, and more.
By using WooCommerce product badges in this way, you’ll show you care about your customer’s experience and needs when browsing your store. The better your customer’s experience when browsing and buying from your store, the more likely they’ll be to trust you and return to buy again.
So now we know what WooCommerce product badges are, let’s get them added to your store. WooCommerce, by default, doesn’t allow you to add badges, so we’ll need a plugin to help us do it. In this case, the online ordering plugin, Orderable Pro.
How to create custom WooCommerce product badges
In this tutorial section, we’ll walk you through how to add product labels to your WooCommerce store with the WordPress plugin Orderable Pro.
Get Your Restaurant Business Online With Orderable
Orderable is a user-friendly WordPress plugin that adds online ordering to your restaurant website.
Add your dishes, create your online ordering menu, customize your delivery schedule, and manage orders with ease.
Create product badges with Orderable Pro
Orderable Pro is a plugin for WordPress that allows you to add product badges to your WooCommerce store.
With Orderable Pro’s WooCommerce badge management features, you’ll be able to:
- Create unlimited custom WooCommerce product badges to suit your store’s specific needs.
- Create custom icon-only badges, text badges, and icon and text badges.
- Customize their look and feel with styling options, including customizable background colors, text colors, icons, and more.
- Assign badges to products as if they were product tags.
- Decide where your product badges appear – both on the product page and shop/category page.
Orderable Pro’s product badges aren’t image badges, so you don’t need to create a custom image to add them. Instead, they’re created with icons and/or text, so they won’t slow your site down and don’t take a lot of work to create.
This means no CSS, HTML, or coding knowledge is required. Just use Orderable Pro’s inbuilt settings and create your WooCommerce product badges in a few minutes.
Of course, that’s only one small thing Orderable Pro does. It also allows you to:
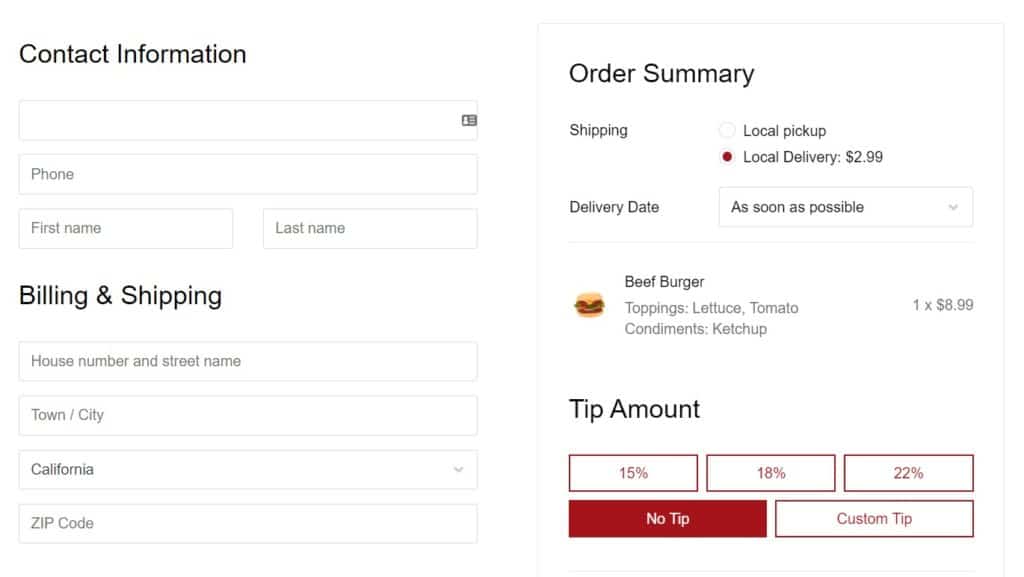
- Upgrade the checkout to one that’s much more streamlined and easy to use.
- Add tipping to the checkout page.
- Create and add delivery/local pickup time slots for customers to choose from when ordering.
- Include product add-ons so customers can customize their orders to suit them.
- Add order bumps that act like cross-sell offers to increase your average order value.
- Send order notifications to customers when a certain order status is met (via email, WhatsApp, and SMS).
Orderable is a fantastic addition to any online store that wants more control over their customer’s ordering process and journey.
So now we know what Orderable can do. Let’s add it to your store and create your WooCommerce product badges too.
Step 1: Install Orderable (Pro)
The first thing you’ll need to do is purchase Orderable Pro: orderable.com
Get Your Restaurant Business Online With Orderable
Orderable is a user-friendly WordPress plugin that adds online ordering to your restaurant website.
Add your dishes, create your online ordering menu, customize your delivery schedule, and manage orders with ease.
You’ll be sent two plugins, Orderable and Orderable Pro (the premium version of Orderable that we need for the product badges). Download them and then follow the steps below to install Orderable on your WordPress website.
- Go to Plugins > Add New from your WordPress dashboard.
- Click Upload Plugin, then upload Orderable from the zip files you downloaded.
- Next, click Install Now and Activate the plugin.
Following this, you’ll need to install Orderable Pro. To do this, repeat the steps above from step 2.
Now that Orderable Pro is installed, we can edit some of Orderable’s basic settings.
Step 2: Change Orderable settings to suit you
The first thing you’ll need to do with Orderable Pro is change a few basic settings. This will only take a minute, and then we can create your first set of product badges.
To do this, take the following steps:
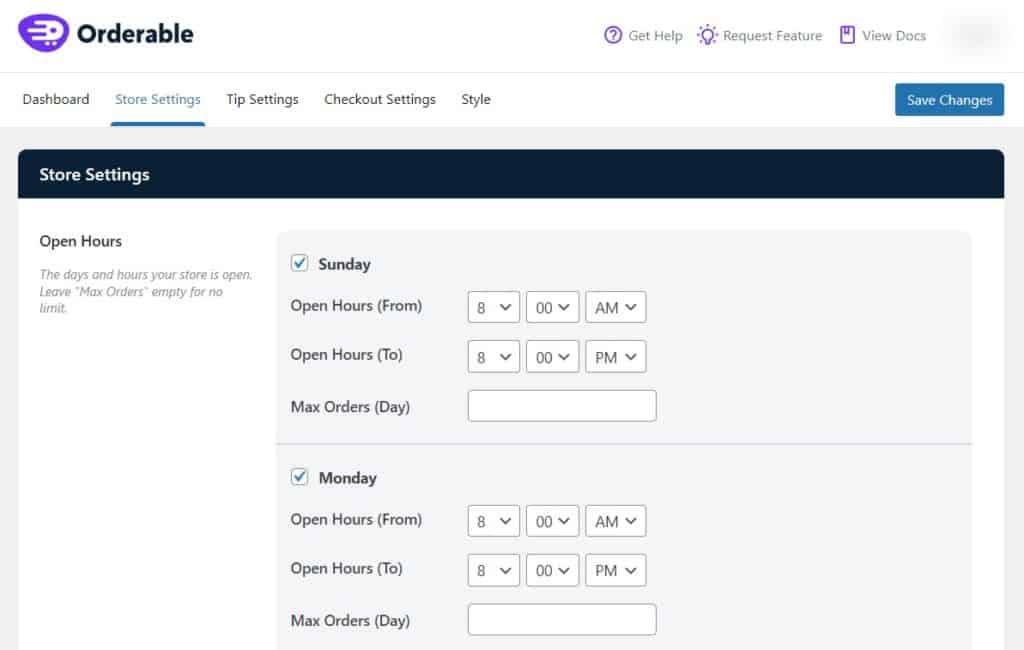
- From your WordPress dashboard, go to Orderable > Settings and click the Store Settings tab at the top of the page.
- You can set the days and hours when your store is open, enter your restaurant’s details, update your website’s time zone, check which services you’ll offer (either local pickup or delivery), select service hours, add a holiday, and more.
- Change whatever settings you need to here. What you change is completely up to you, depending on how complicated or simple your store’s needs are. Orderable comes with a whole set of easy-to-use documentation to help you with each set of settings you’ll find here.
- When satisfied with your changes, click the Save Changes button to update the settings.
With the basic settings ready, we can now create and customize our product labels/product badges.
Step 3: Create your WooCommerce product badges
The first thing we’ll need to do is create the product badges themselves. To do this, Orderable comes with an easy-to-use badge designer. To use it, take the following steps:
- Go to Orderable > Product Labels from your WordPress dashboard to add a new product label on the Products Labels page.
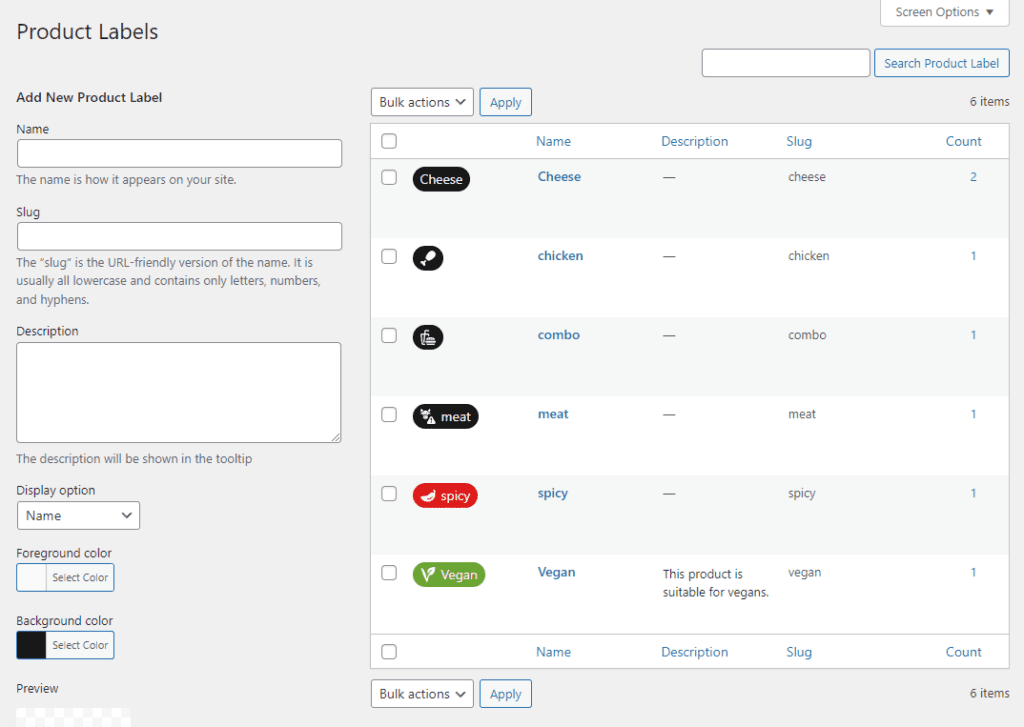
- On this page, you’ll be able to:
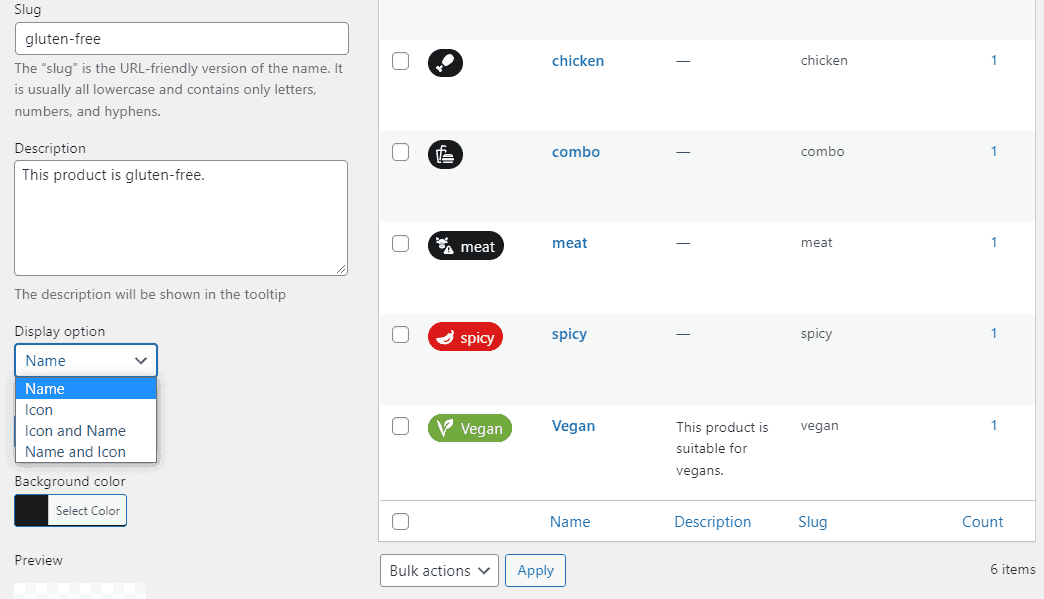
- Enter the Name of your product label, for example, vegan or new. Or any other custom text you like.
- Add a Slug – which is a URL-friendly version of the label name. If you enter nothing here, WooCommerce will automatically generate it for you.
- A Description – this will be displayed when a customer hovers over a product label.
Next, we’ll be able to customize the product badge’s design.
- While still on the product labels settings page, you can make the following changes to customize your product labels.
- Choose a Display option. There are a few options here: Icon, Icon and Name, Name and Icon. These will determine what your product badge contains. When you select one, the settings below change slightly.
- Next, you’ll be able to select a background color and foreground color for your product label.
- Then you’ll be able to select an Icon at the bottom of the page (if you’re including an icon). For example, a leaf icon for a vegan product label.
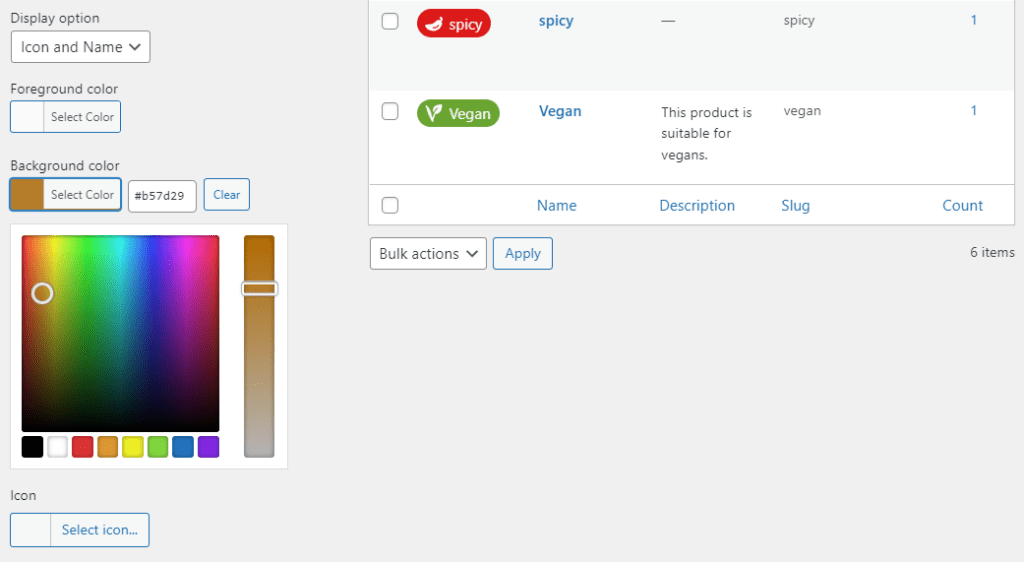
While editing your product labels, you’ll get a live preview of what the label looks like. So when making design changes, you can see the updates in real-time.

Keep creating product labels until you’re satisfied. After all, you can create an unlimited number. But once done, we’ll need to determine where and how they are displayed on your online store.
Step 4: Add product badges to WooCommerce products
Now we’ve created our product badges in WooCommerce. Next, we’ll need to assign them to products. Doing this is easy with Orderable.
To do this, take the following steps:
- Go to Products > All products on your WordPress dashboard. In this product list, hover over a specific product, and click Edit.
- You will see the Product Labels section below the product tags box. Click on this box, type the name of your product label, and select it once it appears.
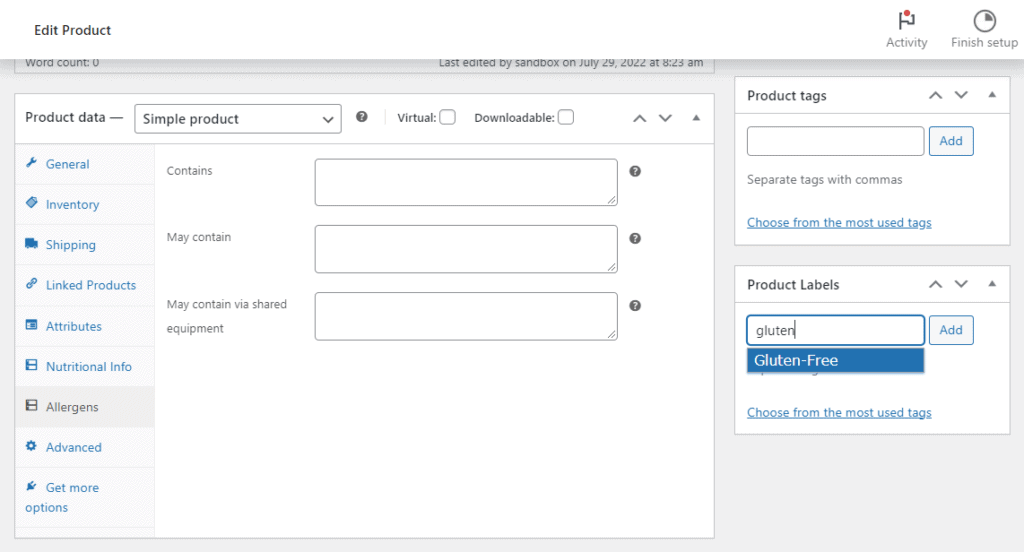
- Click Update when you’re done.
You can add as many product badges as you like to each product, but once done, we’ll need to change some settings to show badges on the shop page.
Step 5: Display your badges on the shop page and single product page
Next, we’ll need to edit the position of your product label.
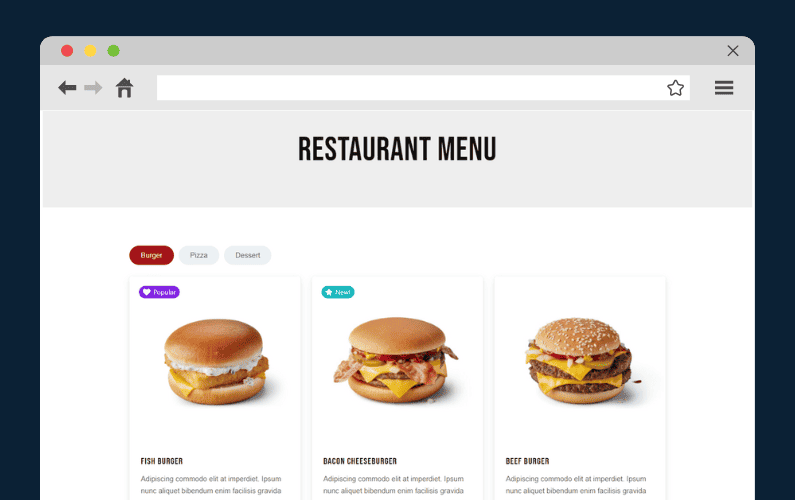
Display WooCommerce product badges on the shop page
Firstly, Orderable comes with a feature called Product Layouts. These act just like an archive, shop, or category page – but with more features. These layouts allow you to add product badges to the category page.
So to set this up and determine where the badges appear, take the following steps:
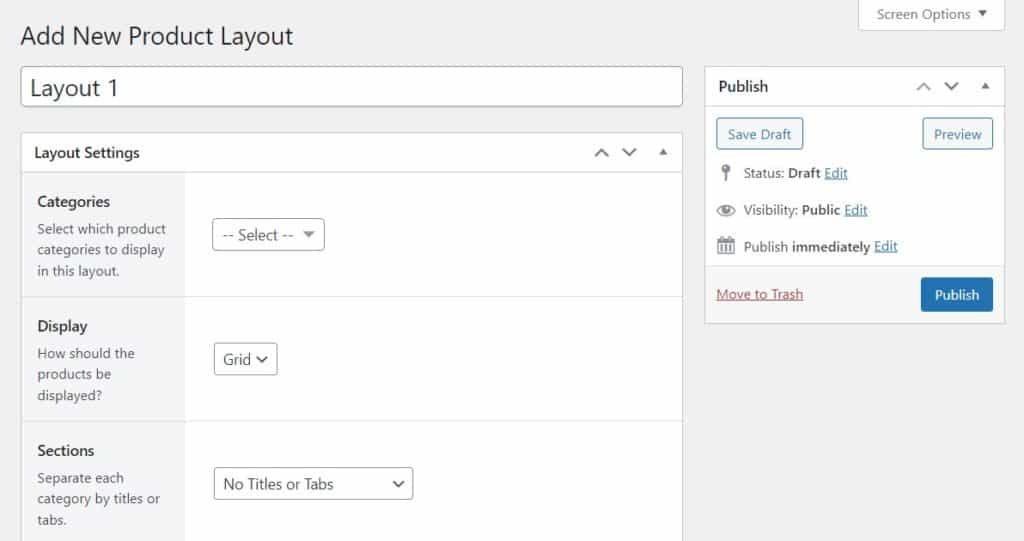
- From your WordPress dashboard, go to Orderable > Product layout from your WordPress dashboard.
- Here you’ll either be able to create a new product layout, or edit an existing one. In this case, we’re going to edit an existing one, but if you want to learn how to create a new product layout, take a look at our product layout guide.
- To edit an existing layout, hover over one and click Edit.
- Next, scroll down the product layout edit page and change your product label position in the Labels section.

- Make sure to save your changes.
A side drawer will open when a customer clicks on a product in your product layout. This acts much like your single product page. Here customers will see everything from your product description, add-ons, and more. A side-draw enables customers to stay on the category page but still see all the information about your products and add them to their cart.
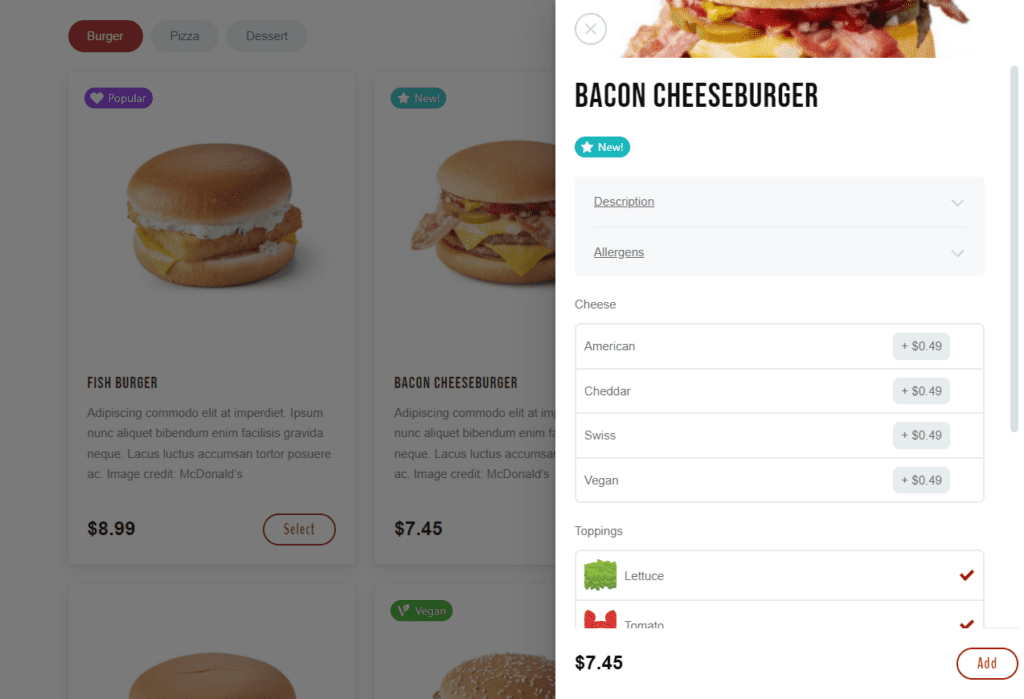
They’ll also see the product labels you’ve assigned to this product, and with the following settings, you’ll be able to decide where they will appear.
Customize where your product badge appears in the side drawer
- From your WordPress dashboard, go to Orderable > Settings and click the Side Drawer link at the top of the page.
- Scroll down until you get to the Product Labels section. Click the dropdown to decide where your badges will be displayed.

- Once done, click the blue Save Changes button at the bottom of this page.
That’s it! You now have product badges working on the frontend of your online store. As a bonus, you have a WooCommerce plugin fit with a huge set of features that will also increase your revenue and improve customer experience at the same time.
Add WooCommerce product badges to your WordPress site today
And there you have it, a few simple steps to create your own custom product badges in WooCommerce. Remember that with Orderable Pro, you can add as many different badges as you like and display them on the shop page.
Make product badges and add them to your WooCommerce products in minutes with Orderable Pro.
Get Your Restaurant Business Online With Orderable
Orderable is a user-friendly WordPress plugin that adds online ordering to your restaurant website.
Add your dishes, create your online ordering menu, customize your delivery schedule, and manage orders with ease.
Gina Lucia is our in-house Content Manager at Orderable. She writes articles, user guides, technical documentation, and creates videos on everything WooCommerce and Orderable.
Gina has been working in the WordPress/WooCommerce space since 2012 when she developed WordPress websites for clients large and small.
For the past 8 years, she’s been writing about everything WordPress and WooCommerce, becoming an expert in what makes a WooCommerce store succeed.
When not writing, Gina loves to tend to her vegetable garden, read, or travel to mainland Europe.
Don’t miss out on the latest Orderable news!
Sign up for our newsletter to receive the latest news from the blog, you’ll get pinged every week with a digest of the latest updates.
[fluentform id=”6″]

Related Articles
Create a WordPress Restaurant Menu (in 4 Steps)

How to Find and Talk to Restaurant Influencers in 2026
7 Tips for Crafting the Perfect WooCommerce Restaurant Menu
Get Your Restaurant Online With Orderable
The WooCommerce plugin designed to help restaurants take orders online – with no added fees!
View Pricing
